

AD – When I was approached to do the ContiBoard Blogging Challenge I knew that I personally would not be able to do this that well. DIY! Hmmmm. Not my bag. But I knew a man who could!
What is Contiboard
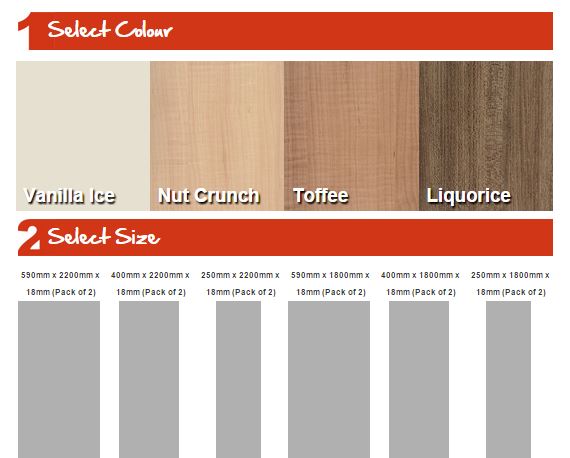
For anyone who doesn’t know, ContiBoard is basically chipboard covered with a thin coating of wood (or wood effect). As the website states it is versatile and easy to make bespoke furniture, storage or shelving. It comes in 4 colours. You can see this in the picture below.
The website is great and gives you a step by step guide of how to purchase you ContiBoard and what additional products you may need. It also has a fab blog with lots of ideas and inspiration of what to make. You can always request a sample to see if it will work for you.

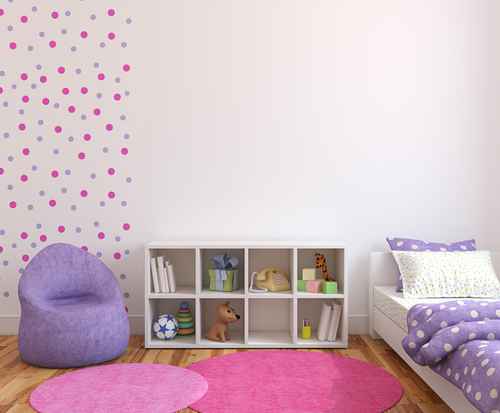
We knew we wanted to make some storage for the gremlin’s toys and this picture from the blog was my vision (for hubby to create…ahem!)
We decided to order the toffee board. The storage unit was going to go in our lounge and was the closest colour to the rest of our furniture.
Hubby and I put our heads together and drew up a plan of the size of the unit and could therefore quite easily work out how much ContiBoard we would need. We also ordered edging tape to neaten up the edges of the freshly cut board.
As my awesome hubster was the man who could in this project here is his outline to how he created the unit and his thoughts on using ContiBoard. Take it away hubby:
“As none of you will know me, I should let you know that this particular project played right into some of my more frustrating traits: if someone sets me a challenge, that’s it, I’ll do IT!! (apart from a marathon). Secondly, my ambition frequently exceeds my ability. For example, I decided to re-fit our bathroom and it took a quarter of a year; but I did it!
The ContiBoard arrived as expected but it was unfortunately damaged or marked which was a shame (not shown).
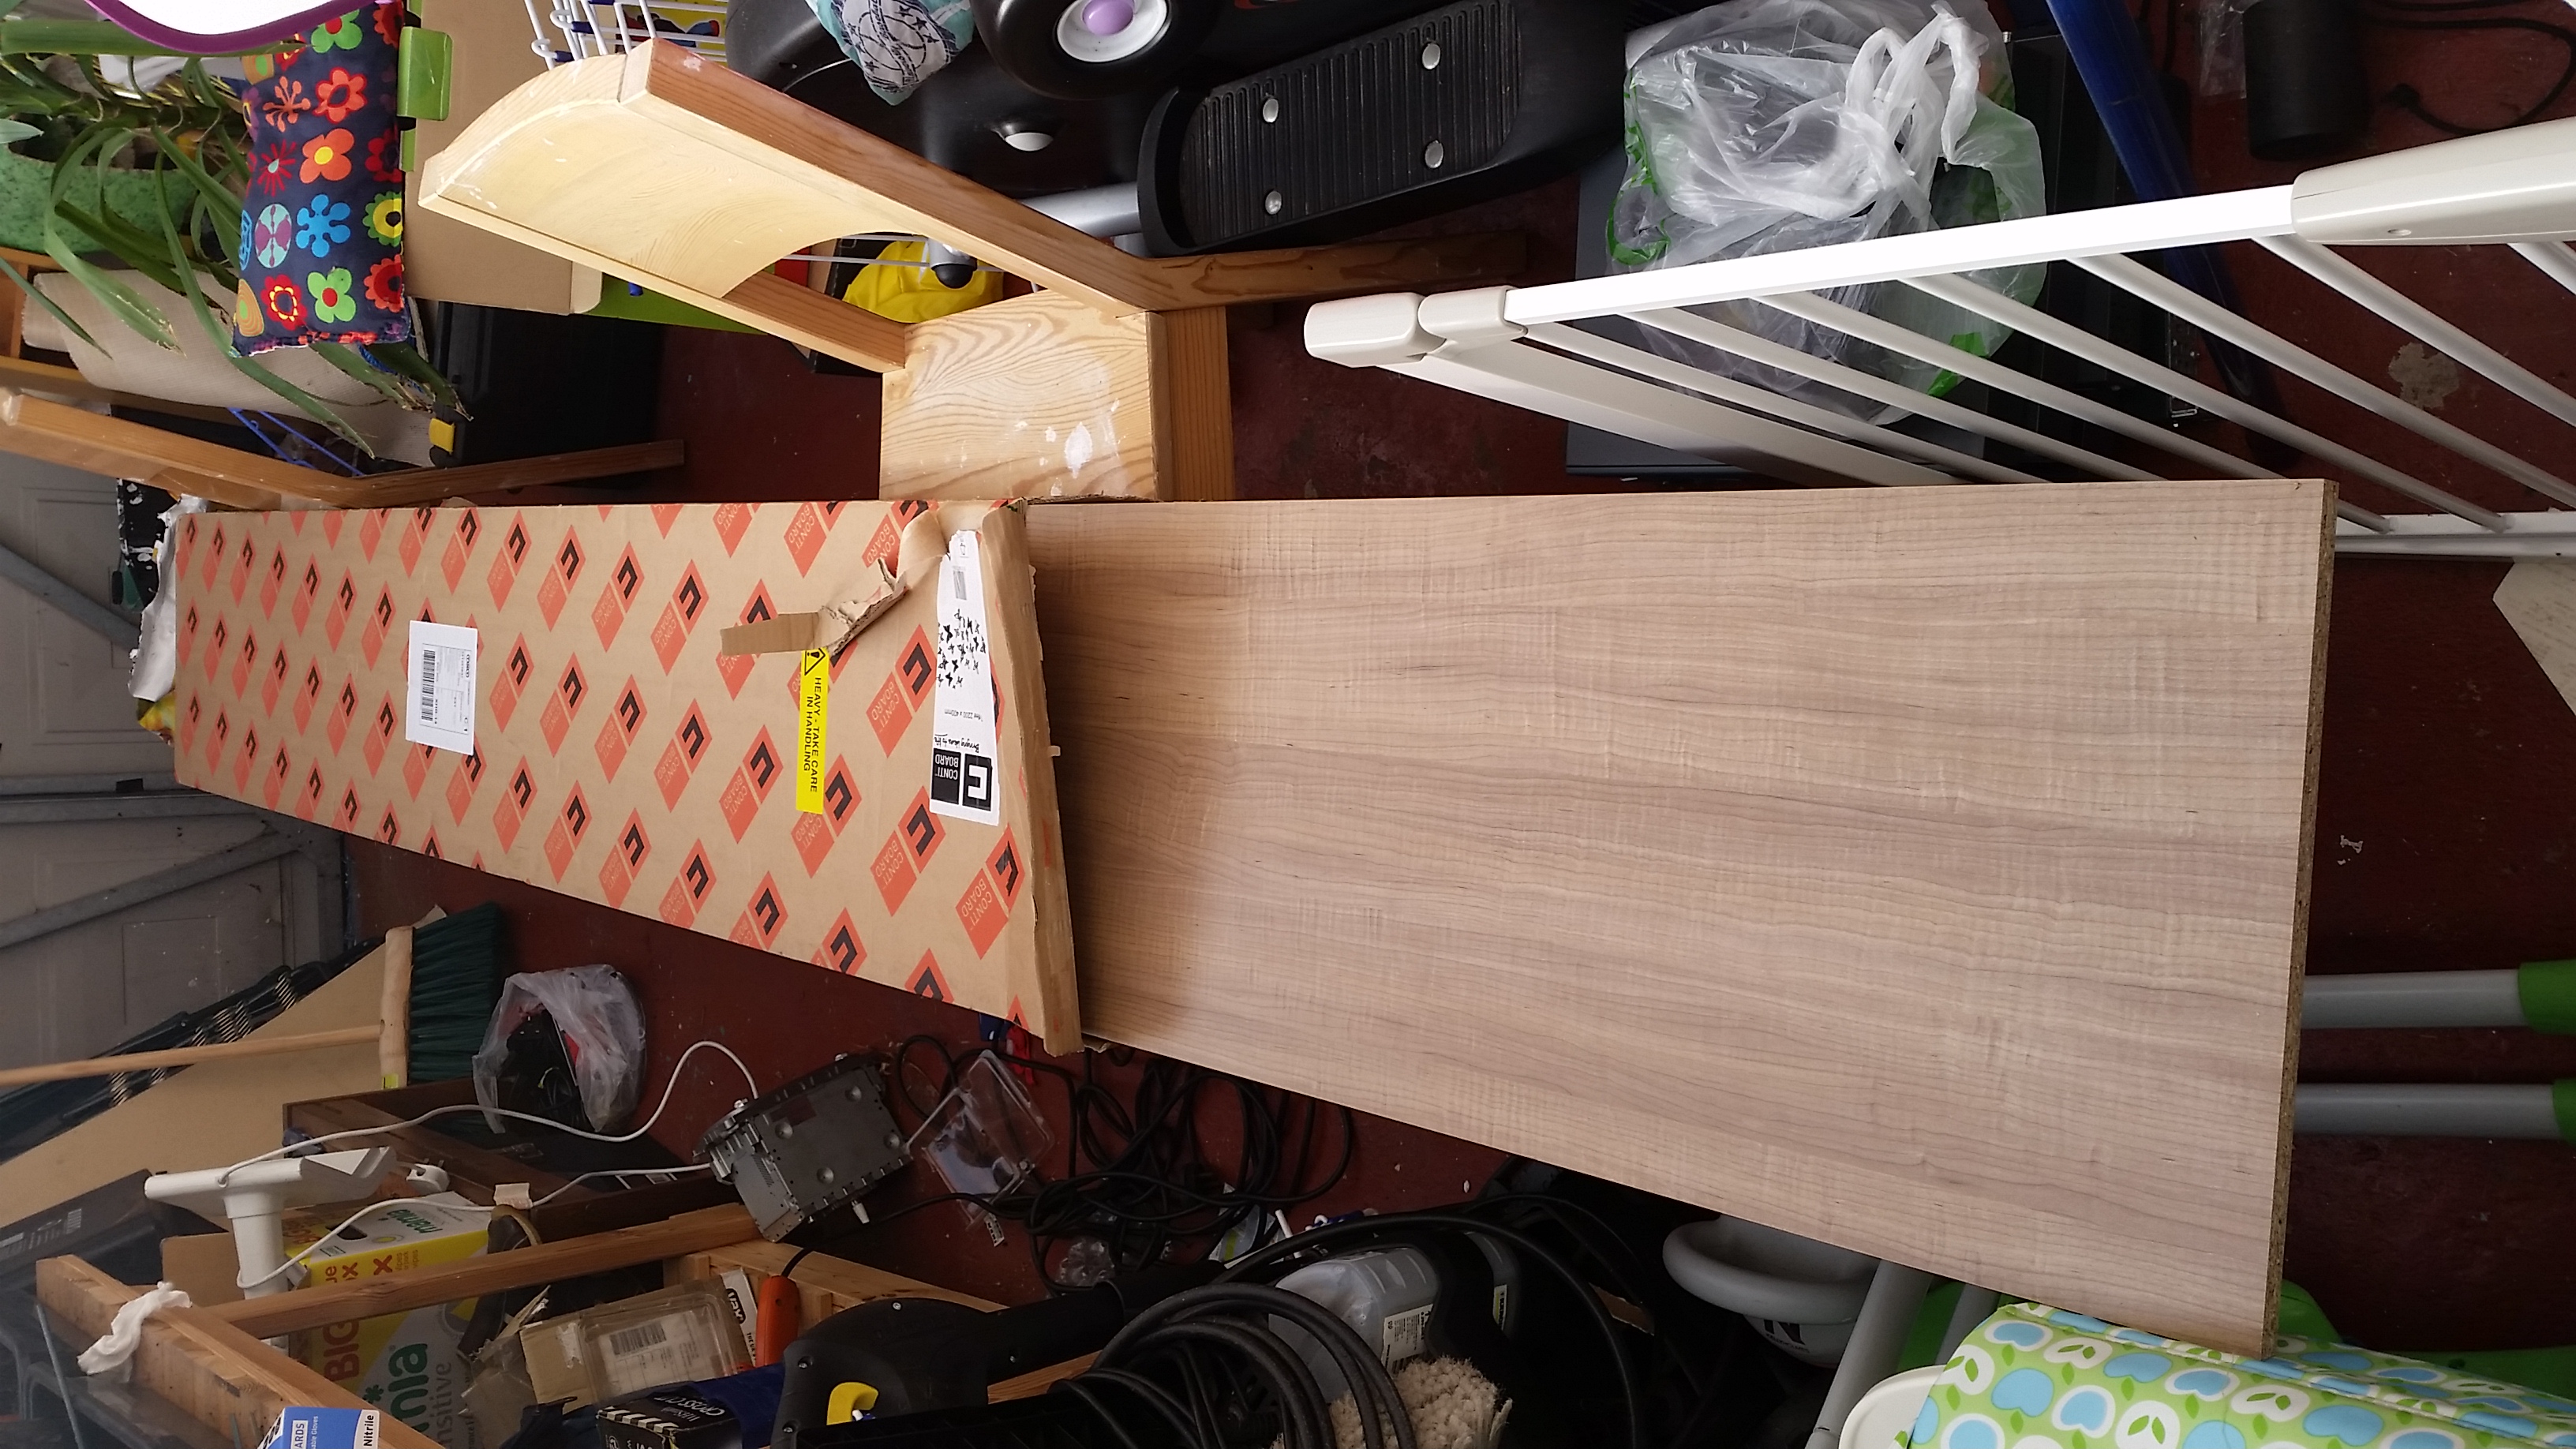
Excuse the bombsite garage!
The tools required:
Tenon saw, set square, fine drill (for pilot holes), a cordless drill (for doing up screws quicker), a pencil, and a tape measure. I’d recommend using a circular saw over a tenon saw as you’ll get much straighter edges. Avoid a jigsaw unless you are very well practiced (if you don’t know what any of these saws are, get help!)
Consumables:
Chipboard screws: 25mm long (x30) and 50mm long (x8), 2 x 8mm dowels, 10 x brown modesty blocks.
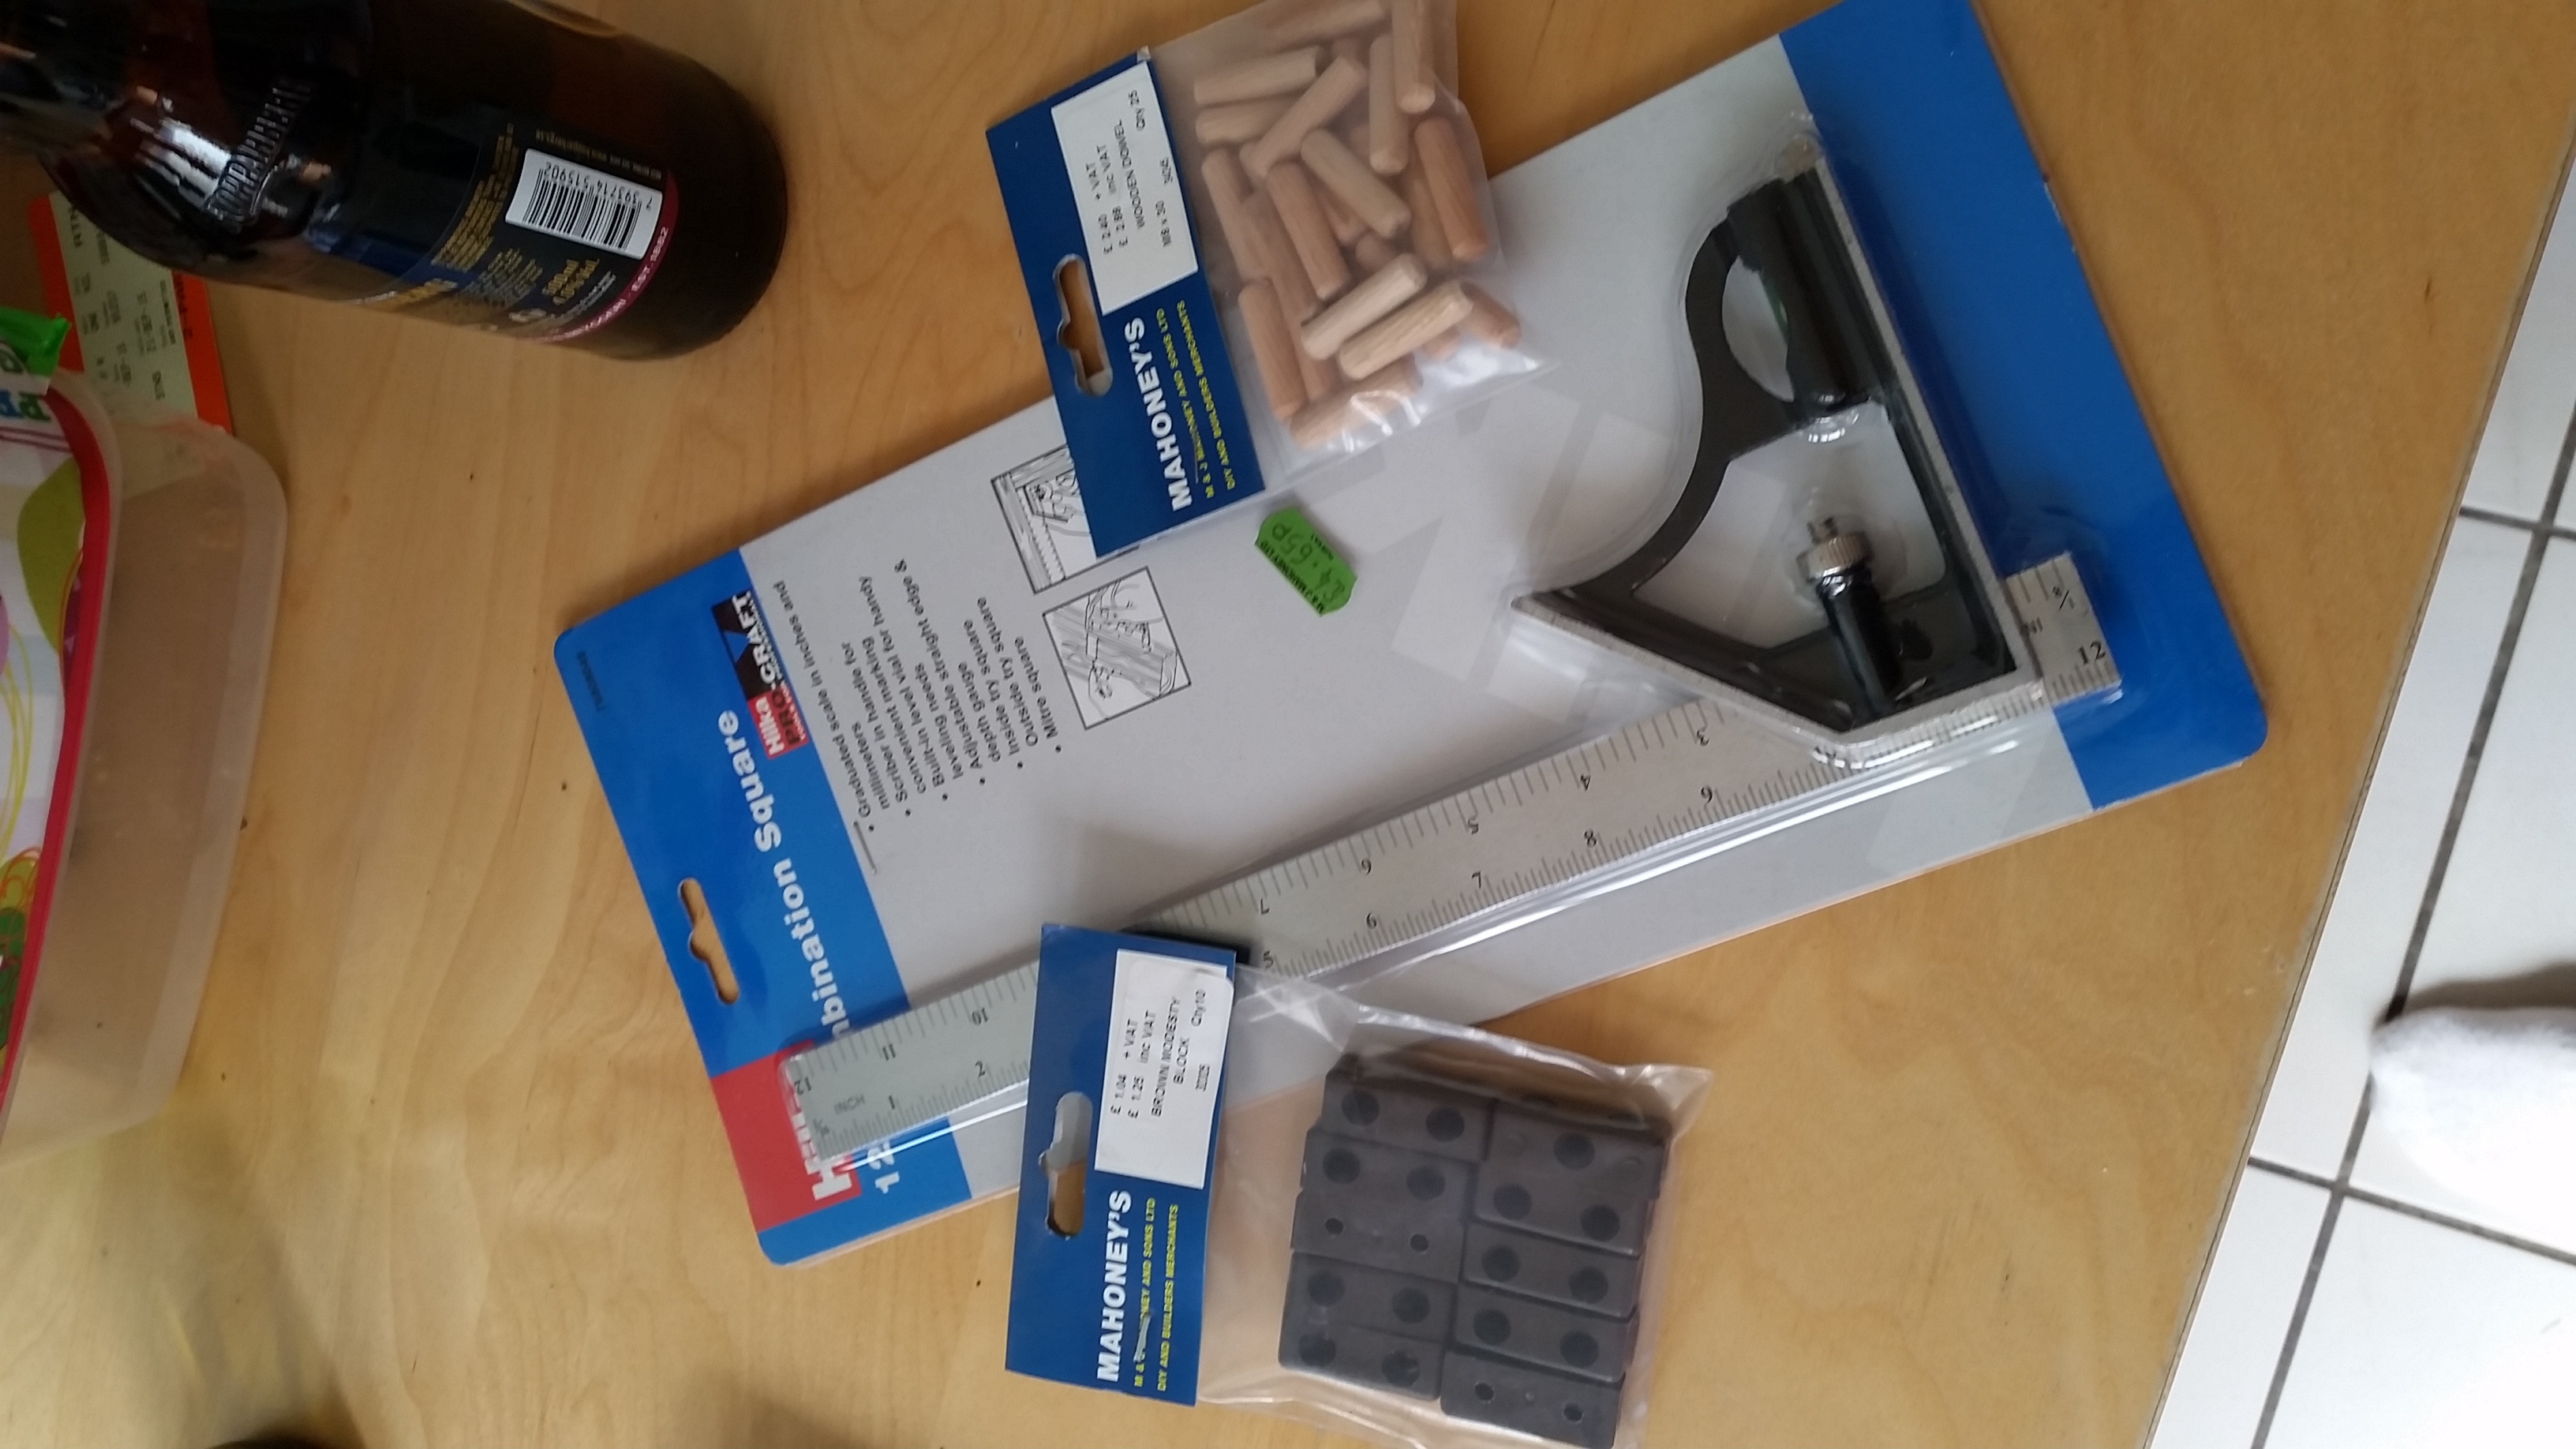
A few of the bits used with the project
The Simplified Process:
1) Draw your plan out on a piece of paper, don’t just do it from your head as you will cock it up! Tip: take into account the thickness of the board.

2) Cut your board, using a set square to measure out the right angles. I used the tenon saw to cut the board, which turned out to be a mistake as it took AGES (25 mins per cut). This is where a circular saw will make life much easier, but much more expensive.

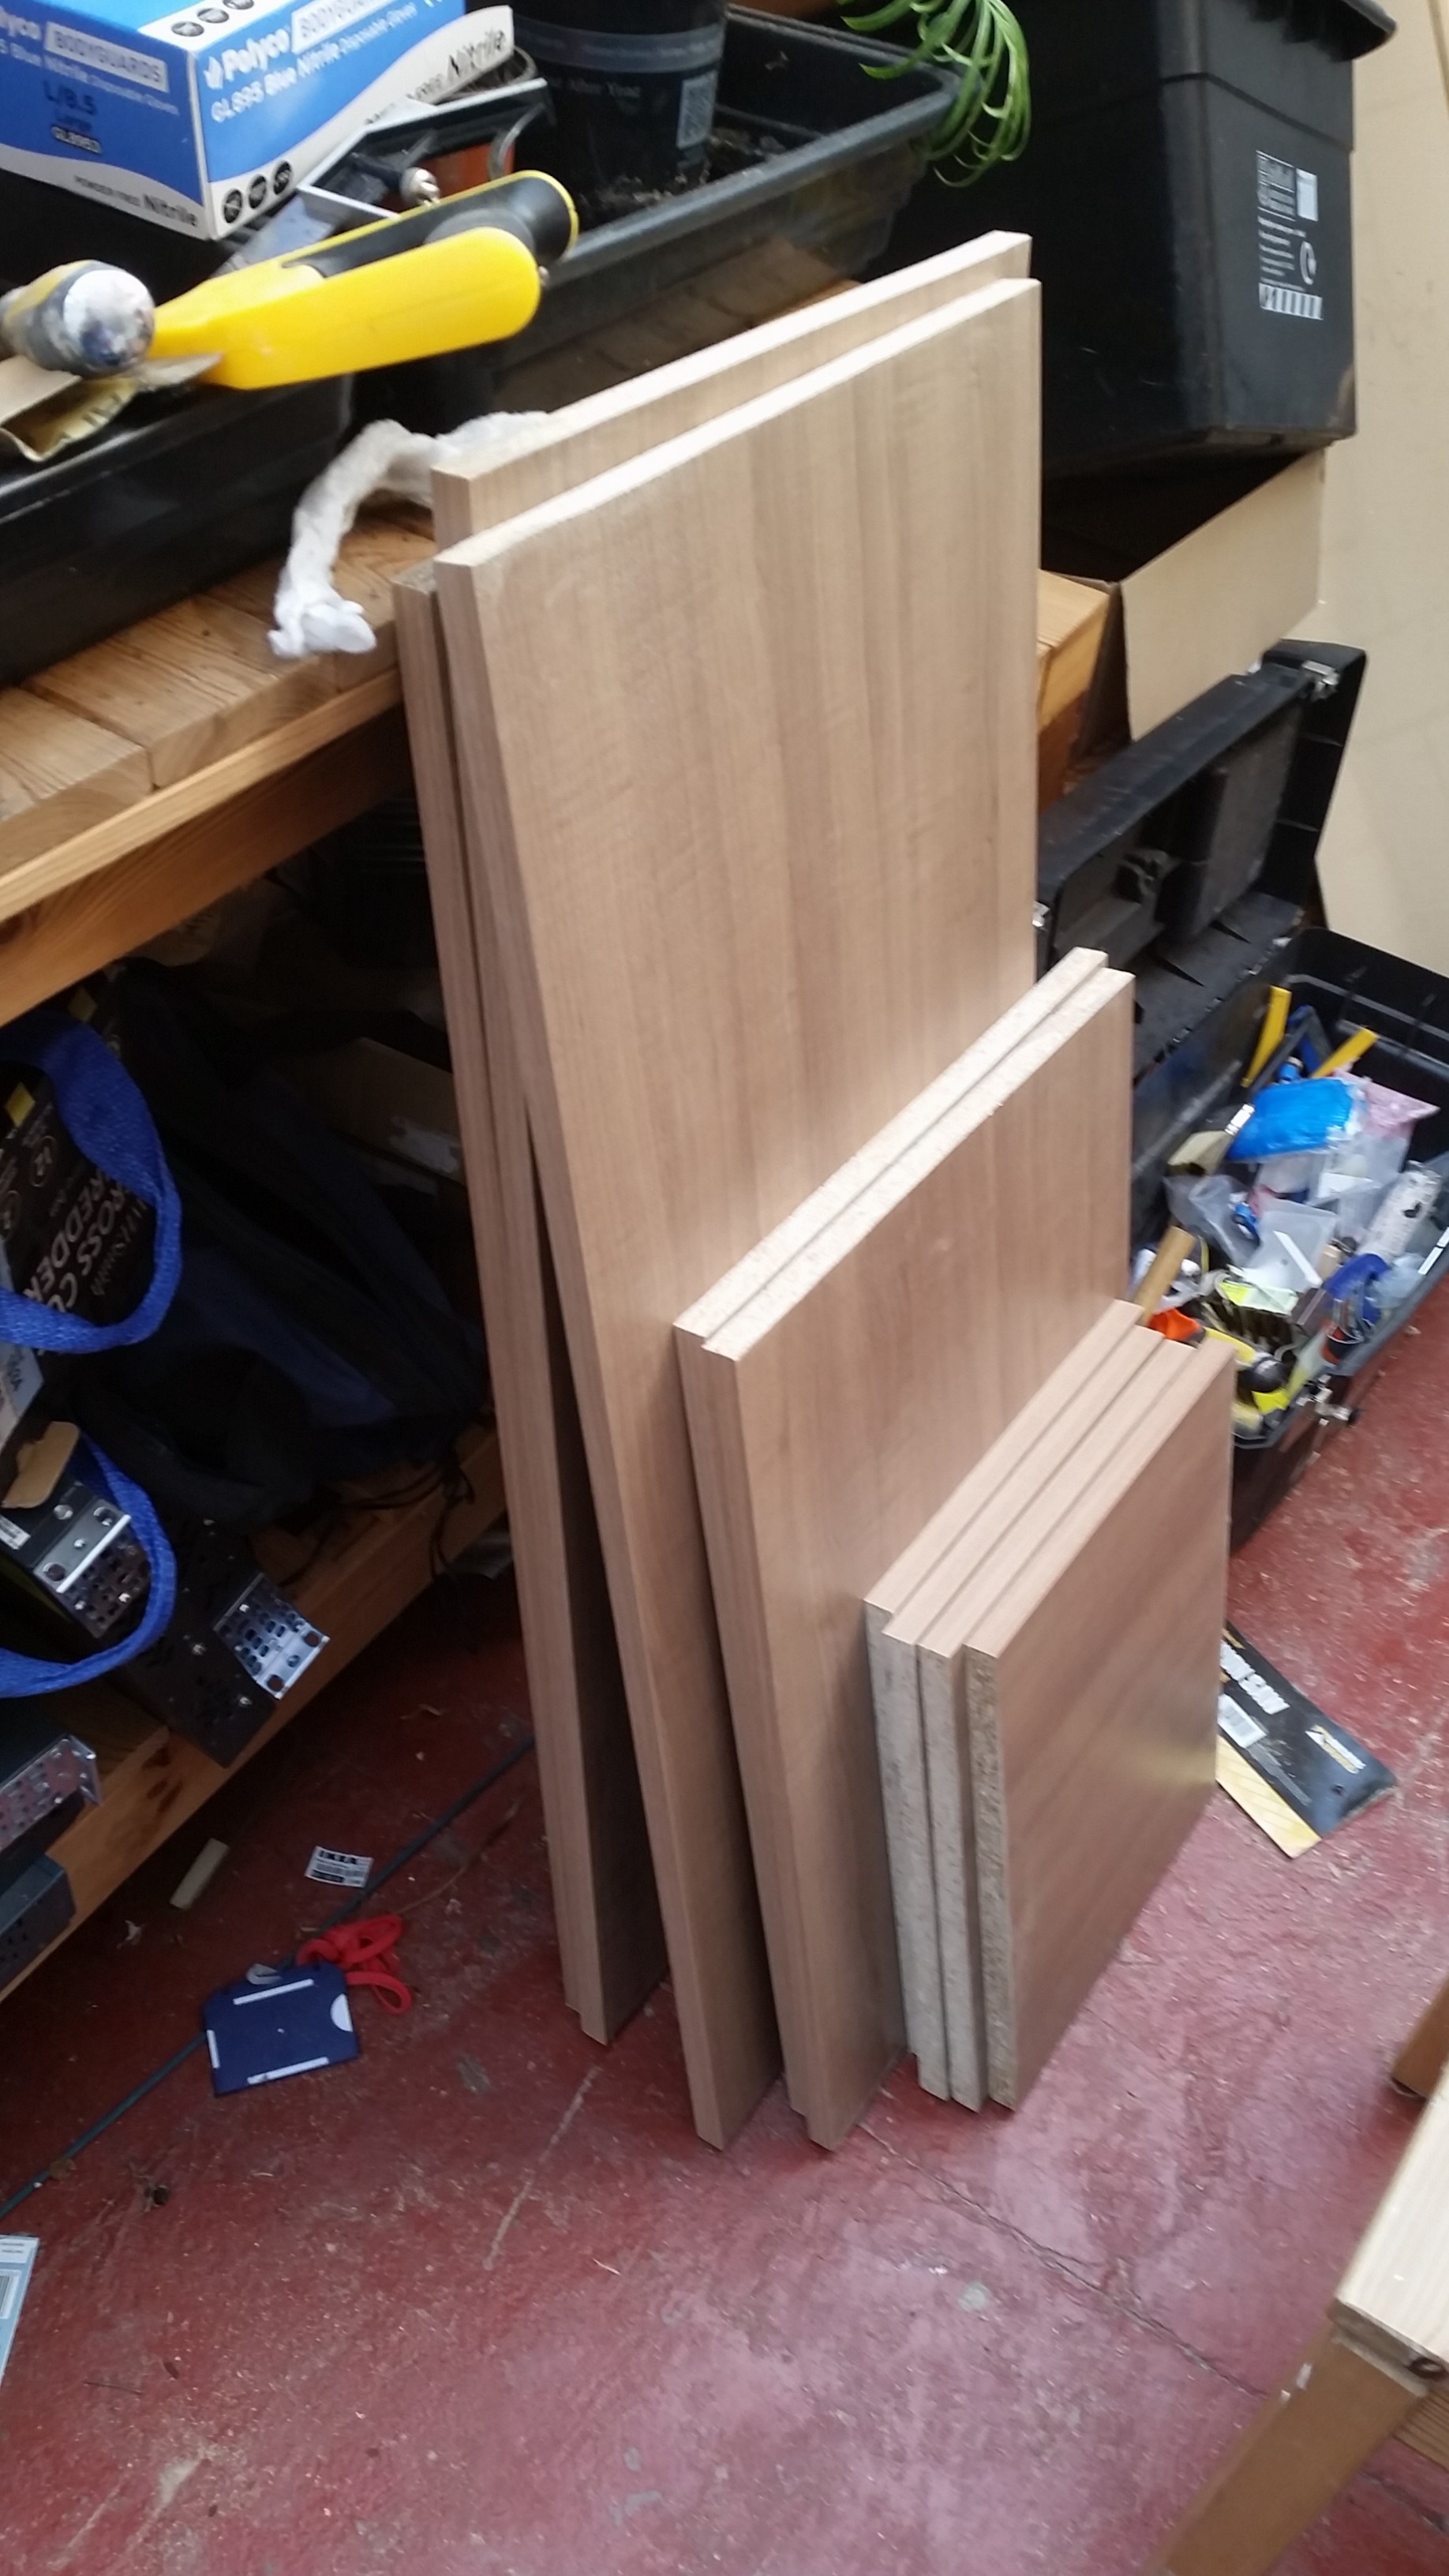
The finished cut up board
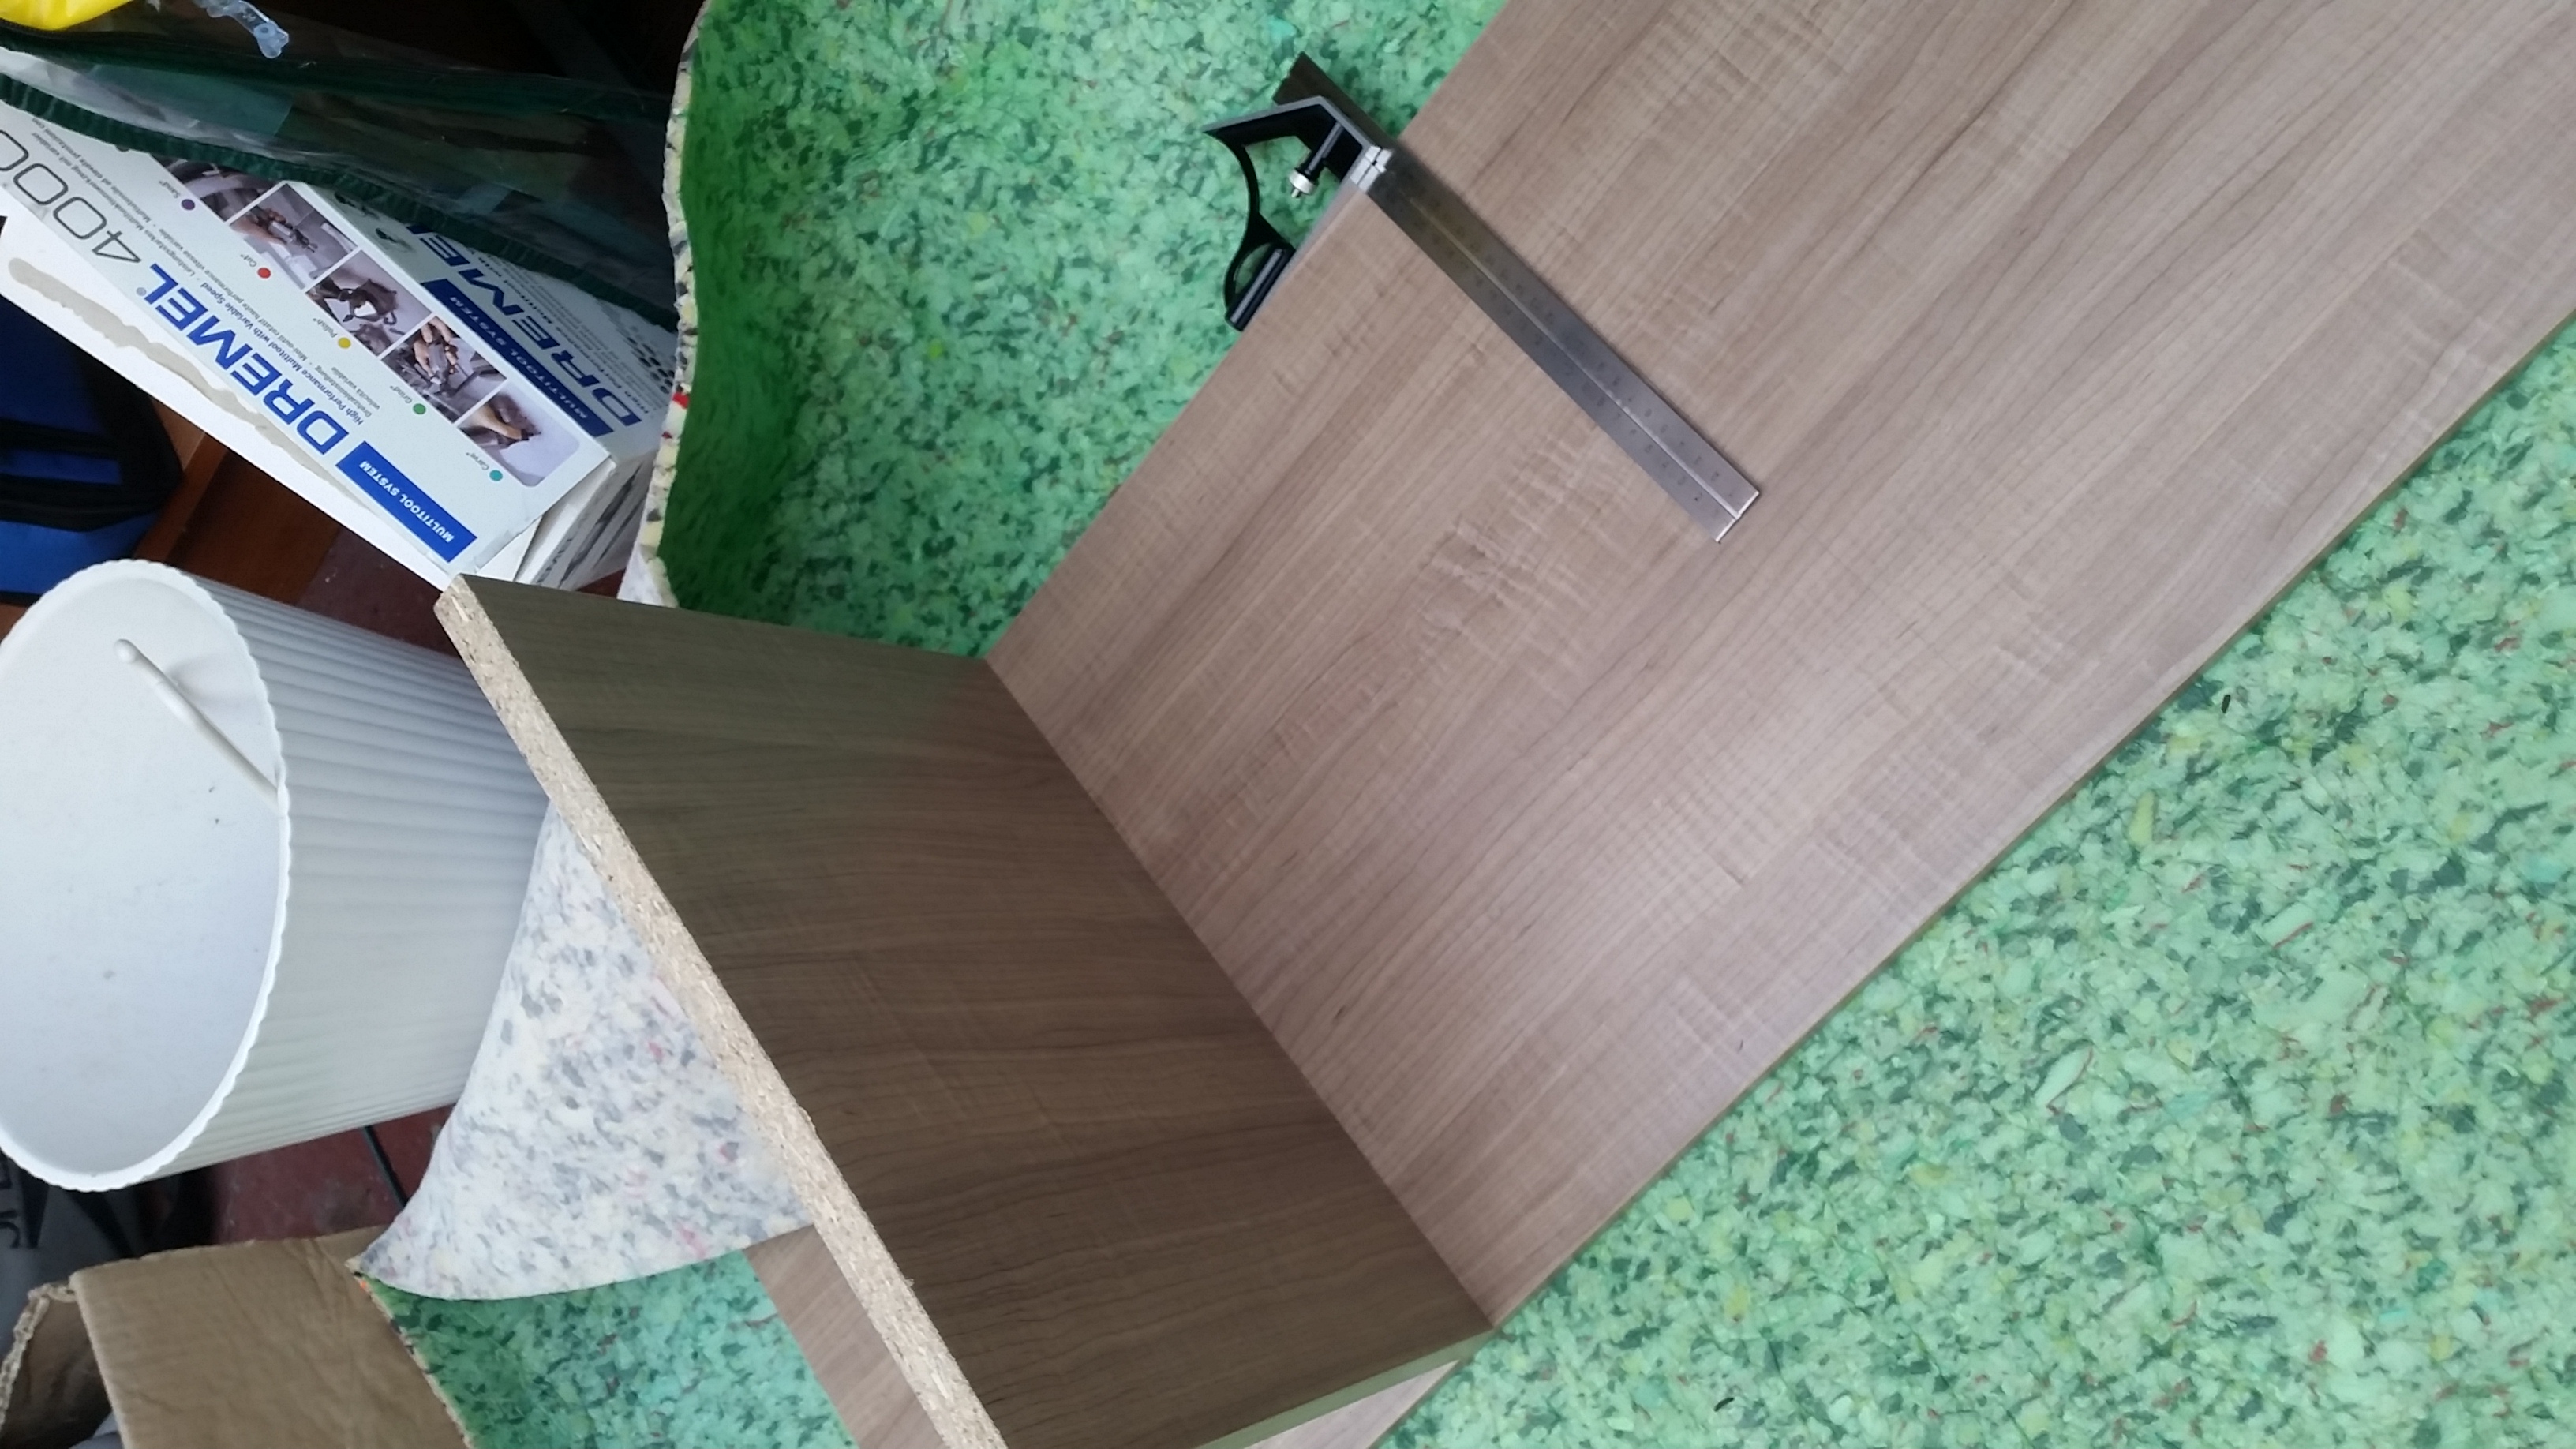
3) Start assembling your board into furniture. Use the large screws to join the board in places that you can’t see e.g. the sideboards to the base plank (the screws are only visible underneath). Use the modesty blocks and small screws to join the board in places that are more visible e.g. underneath the shelves. Use dowels to hold board in places where you don’t want a visible join (this is seriously hard to do well though!!!)
4) Finish the edges off using edging tape. See this video for how to do it.
Thoughts
Personally, I’d only use ContiBoard to build shelves, or a desk in an enclosure unless you are very skilled in DIY (and have a circular saw). I had to re-cut about 4 pieces of board due to error.
I’d also recommend going to your DIY store to buy your wood; every piece of board that we had delivered was damaged in varying places. It was really well packed, with no external signs of damage, so I would guess the damage happened prior to delivery.
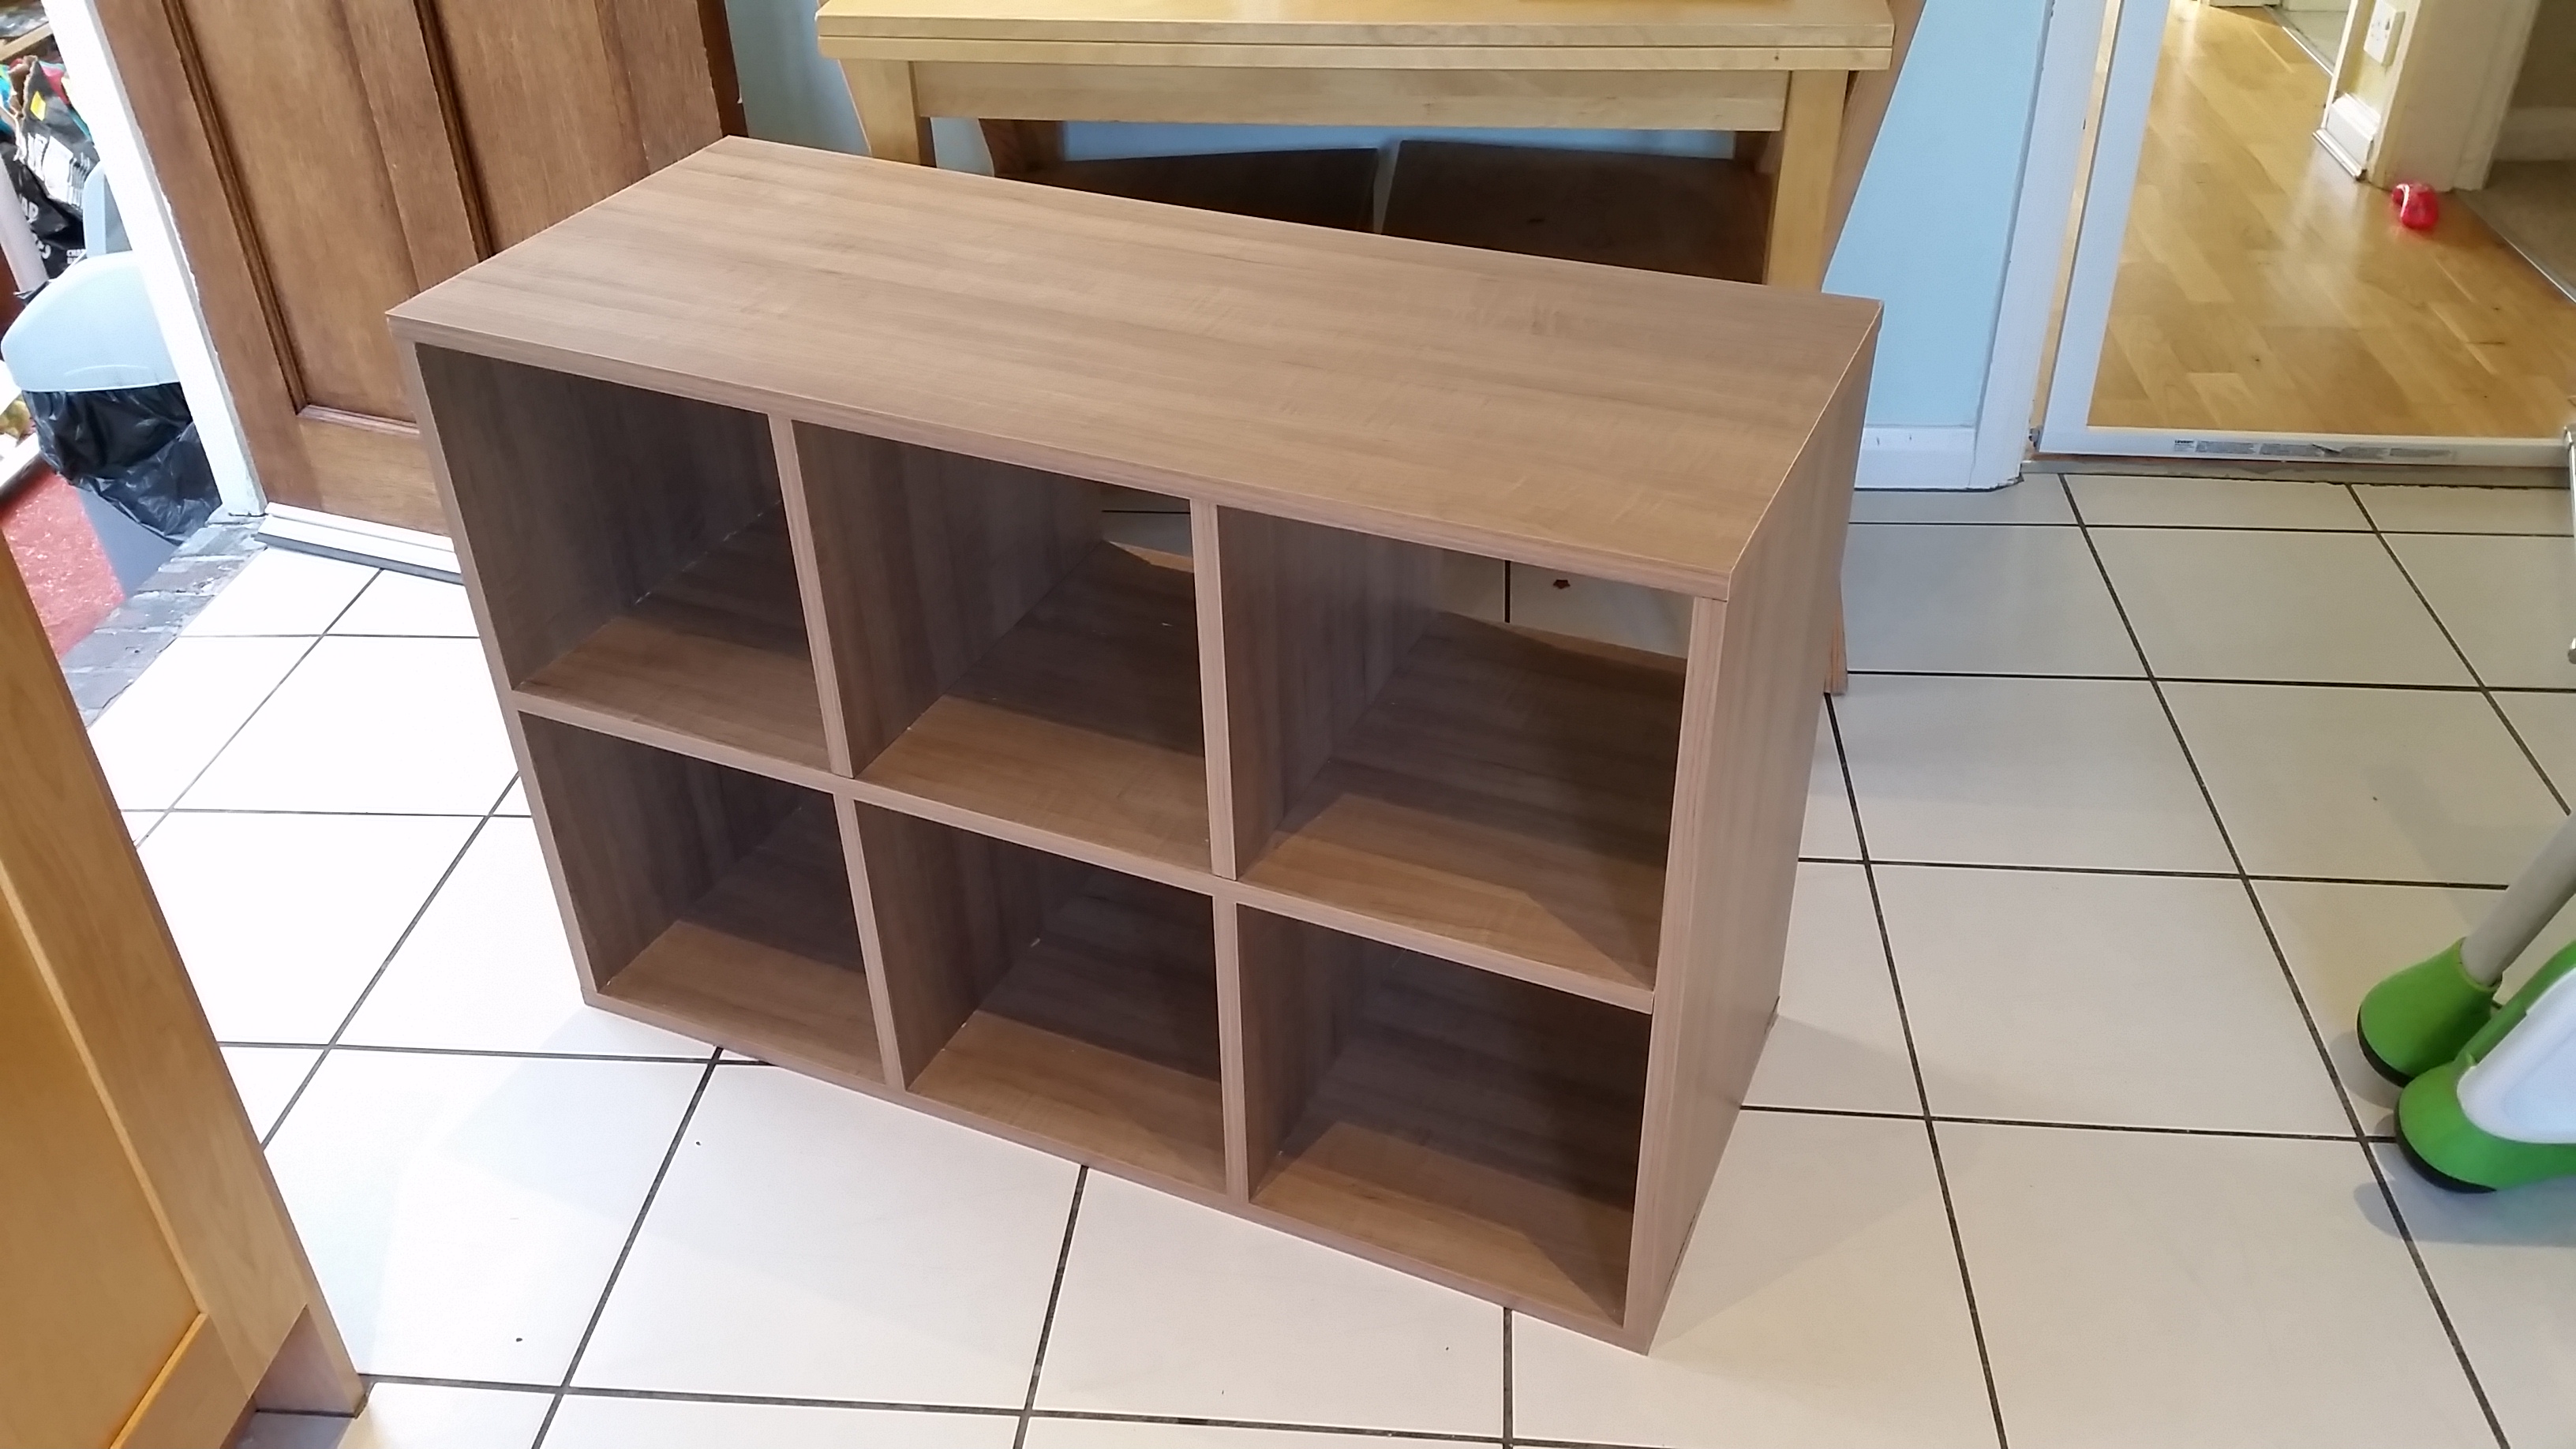
In terms of project success, I’ll let you be the judge of that: see the final piece below! Personally, I’m really pleased with it.”
Despite the hubby’s challenges and some slight frustrations with his available saws the end result is pretty good! The gremlin now has a great place to store her toys and books that looks a lot more organised and tidy.
Disclosure – We received the ContiBoard free of charge in exchange for completing the challenge and providing an honest review. All thoughts and opinions are our own.


Wow I am hugely impressed at your hubby for taking on the challenge. The unit looks fab. Well done from me!!! I have a similar storage unit for the kids toys and it’s so useful so I hope you and Gremlin enjoy it.
Vix x
Author
Thanks Vix. It was quite a big challenge but I’m pleased with it and him! xx
That looks good! Bet you were pleased with the final result 🙂 Good work Mr.H!! 🙂 xx
Author
Yeah I am hun cheers! he did a good job the hubster xx
Wow- uber impressed! I can barely assemble IKEA flat packs, let alone create something from scratch. It must be really satisfying to use a piece of furniture you made though.
Thanks so much for linking up with #fartglitter xxx
Author
Thanks lovely. Yep quite impressed. I am pretty crap to be fair too! All credit to the hubby. Thanks for hosting as well!!! x
I would loose patience within five minutes, but my hubby is pretty handy too so this would be a job for him. Came out looking great, good choice to tie it in with your existing furniture. I’ll be looking for storage ideas when our new house is finally built. Thanks for sharing with me #mummyandus
Author
haha I have zero patience so thank goodness hubby did it for me!! Thanks though we are pleased with it. Thanks for hosting x
Looks a great job your hubby has done very impressive
Well done 🙂
Author
Thanks Nigel…will take it as a compliment x
That looks amazing. I like DIY but I think I would find that challenging
Author
It was hard going…not like a flatpack x
Can he make us one? My OH is hopeless at DIY and we’re currently drowning in toys.
Author
aww bless you! I’ll send him over x
looks great! looks like a Kallax shelving unit! well done! #AnythingGoes
Author
Thanks so much! x
That finished unit looks great – well done to your hubby for doing such a great job. Definitely with him on using a circular saw over a Tenon saw – that takes some patience to keep going when each board takes 25 minutes to cut! Great tips on making up the unit too 🙂
Author
Thanks Louise! You sound like you know what you are on about!! xxx
Lol, I’m not big on DIY but I’ve helped cut wood to build sets for shows back in my uni day so have a little bit of experience with different types of saws thanks to that 🙂
Author
haha you sound like you know a lot more than me!! x
Sooo many ideas are buzzing around my head as to how I would use this stuff. Thanks for showing us and linking up with #Mummyandus
Author
haha brilliant and thanks so much x
Wow that is great!! Well done to your hubby #mummyandus xx
Author
Cheers hun! Lots of work for him x
I’m with you on this one – I like the idea of it, but I would be useless doing it! Your hubby did a fab job though 🙂
Thanks for linking up to #AnythingGoes
Debbie