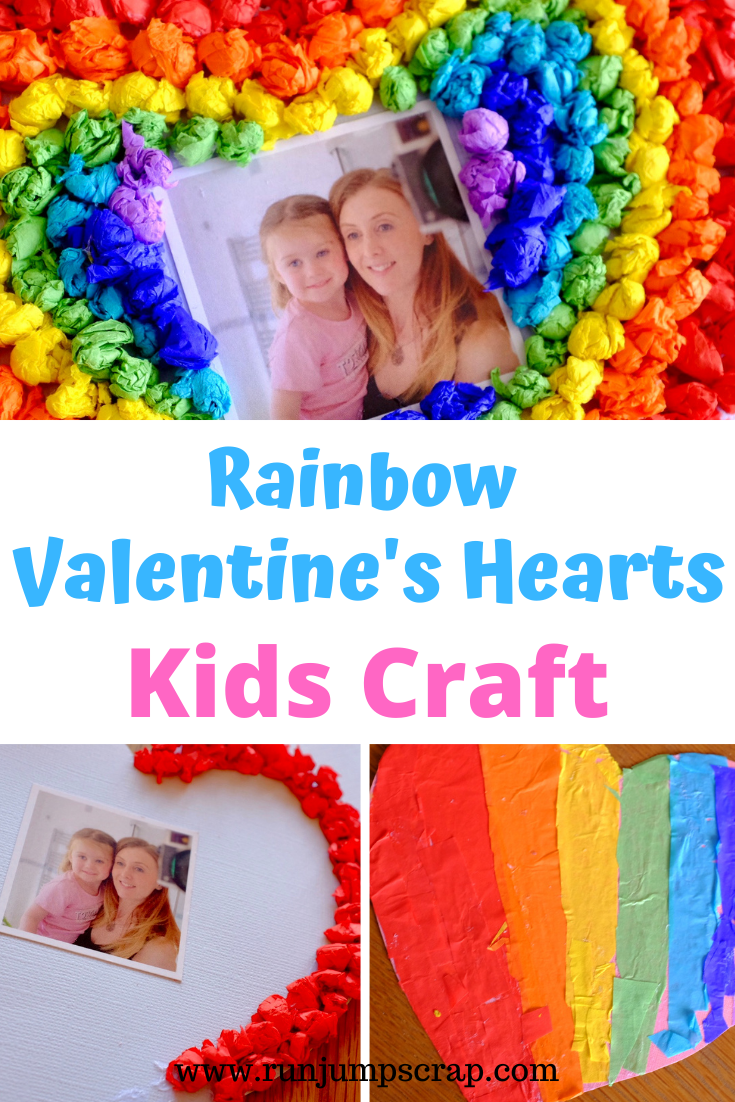

It’s been ages since I have done anything creative and posted on the blog. I think it’s generally been a while since I have been creative! Christmas has come and gone. We have had the uncertainty of lockdowns and the sad reality we are going to be stuck in it for a while. Also the family went down with Covid in the new year and I seemed to lose motivation for anything! You’d have thought being in isolation for 10 days would have pushed me to something with boredom but we were tired and rough and needed the time to rest. BUT as hard as it to believe Valentine’s Day is approaching and I thought some tissue paper Valentine’s Hearts Crafts for the kids would be a good idea!
Tissue Paper Valentine’s Hearts
I’m not usually someone who likes to get the tissue paper out that often and I’m not going to lie we needed to get the vacuum out! It’s not as bad as glitter but it’s messy stuff! But I had a cute idea that could combine tissue paper, Valentine’s heart and even the rainbow theme for the NHS and the situation we are all in now. And it was pretty easy to do but took enough time to keep the kids busy.
We were thinking they would be lovely to give to their Dad or a family member on Valentine’s Day. Everyone loves a home-made card or gift. Well I know I do.
What Do You Need for Tissue Paper Valentine’s Hearts?
You really don’t need a lot!
– Cardstock – various colours depending on your choice
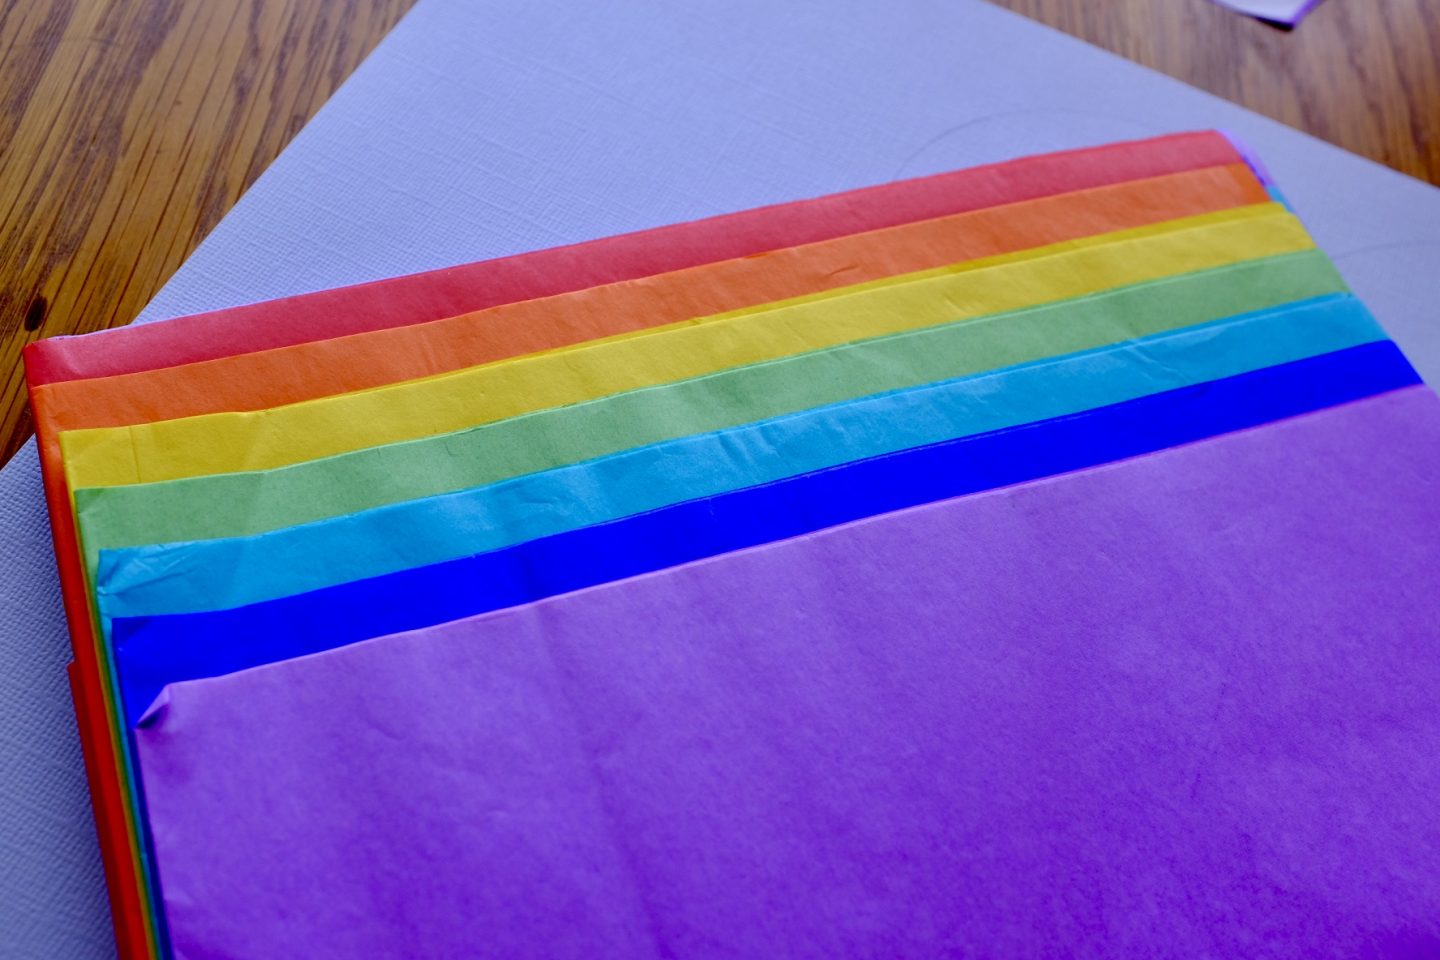
– Tissue Paper (of course)
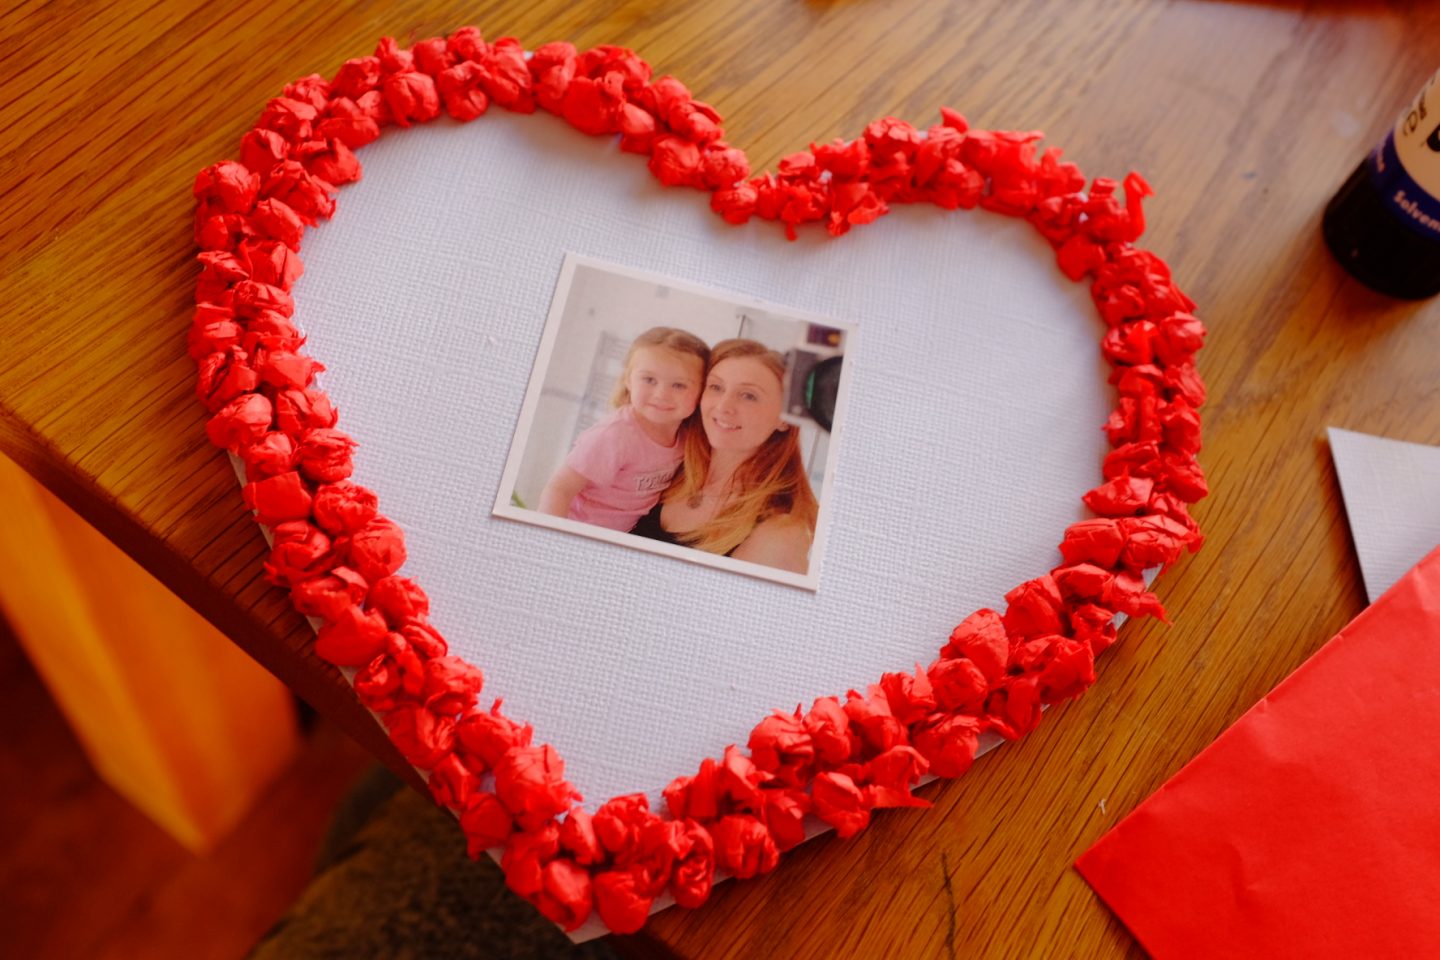
– A small photograph (optional)
– Glue and scissors
Making Your Valentine’s Hearts
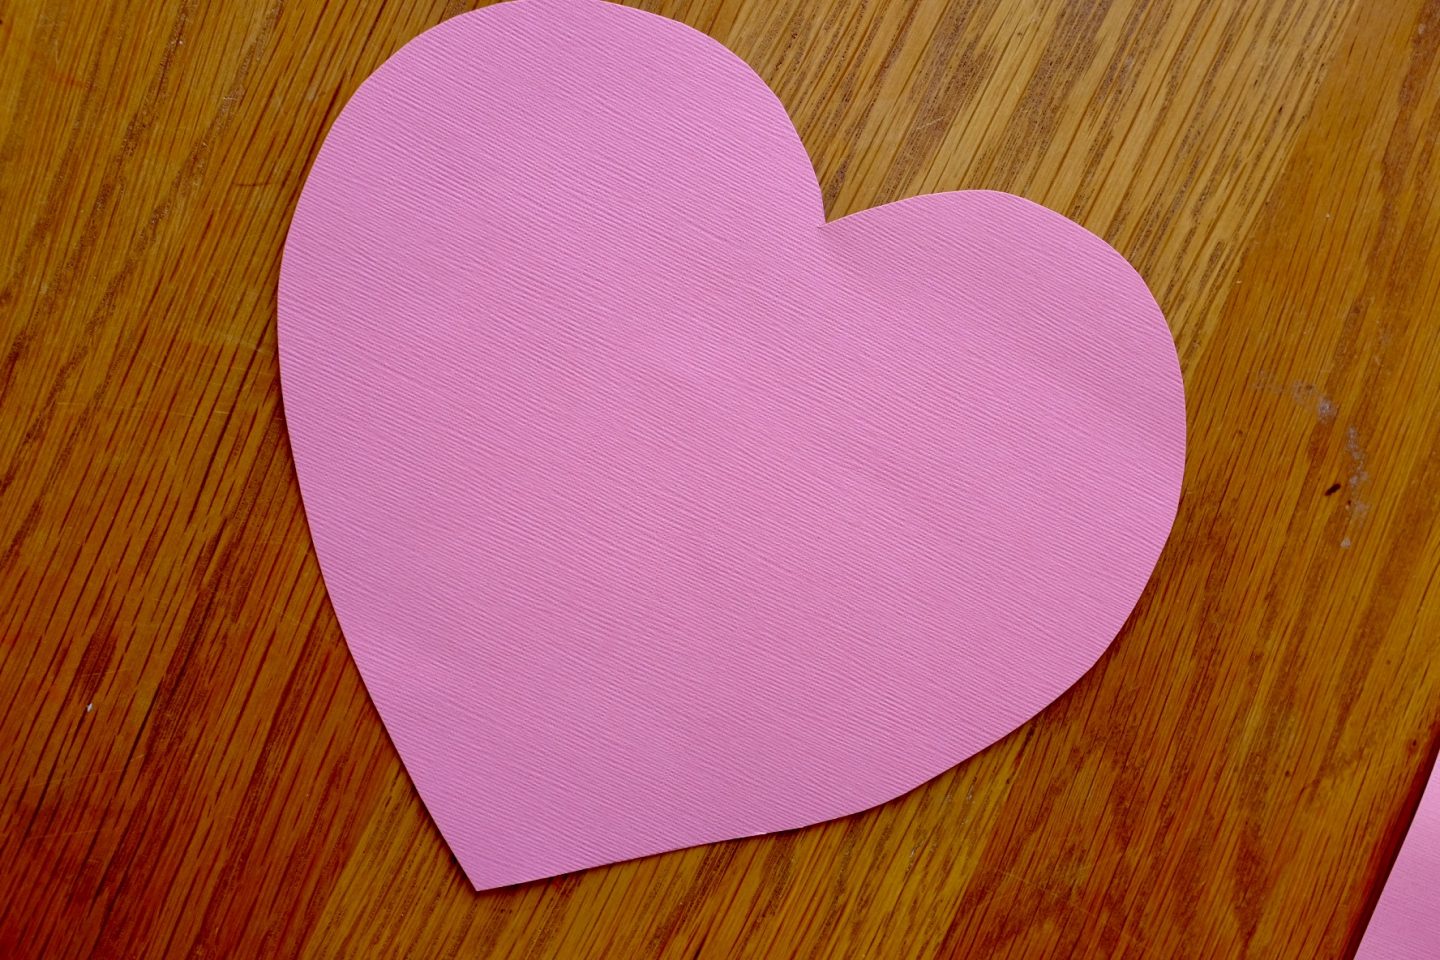
The first thing to do is find a heart shape. You can draw this yourself freehand and cut out or use a shape. If you have a cutting machine like a Cricut or Silhouette Cameo, then even better.
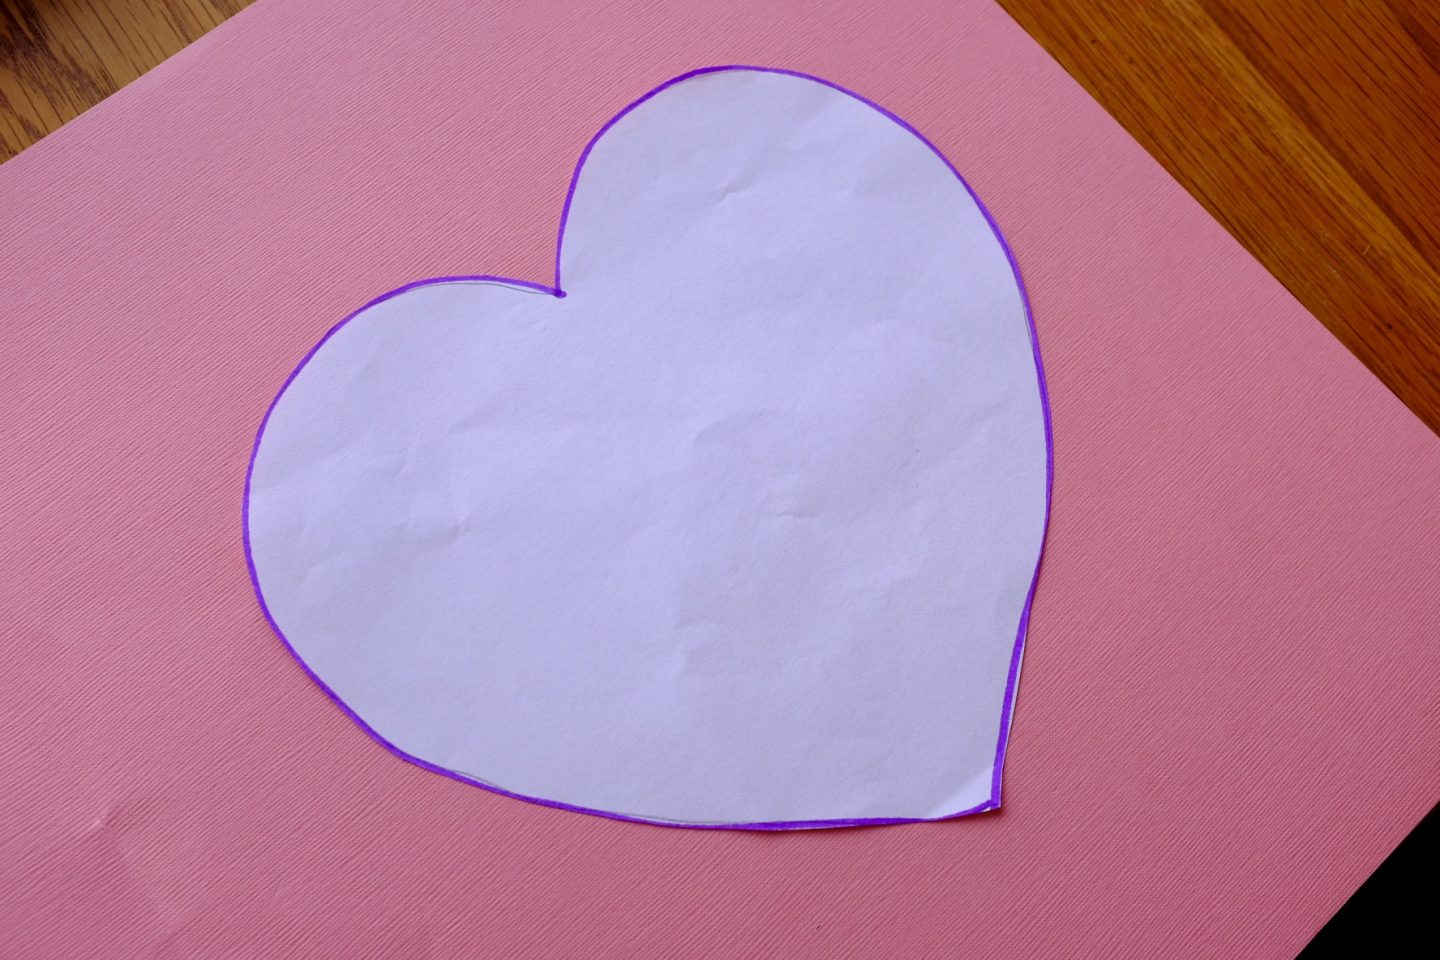
I found a heart shape online, printed it and cut it out. Then I used it to draw around on my coloured card. You can pick the style of heart you would like.
Then I made three hearts for the me and the girls. They all wanted different colours typically.
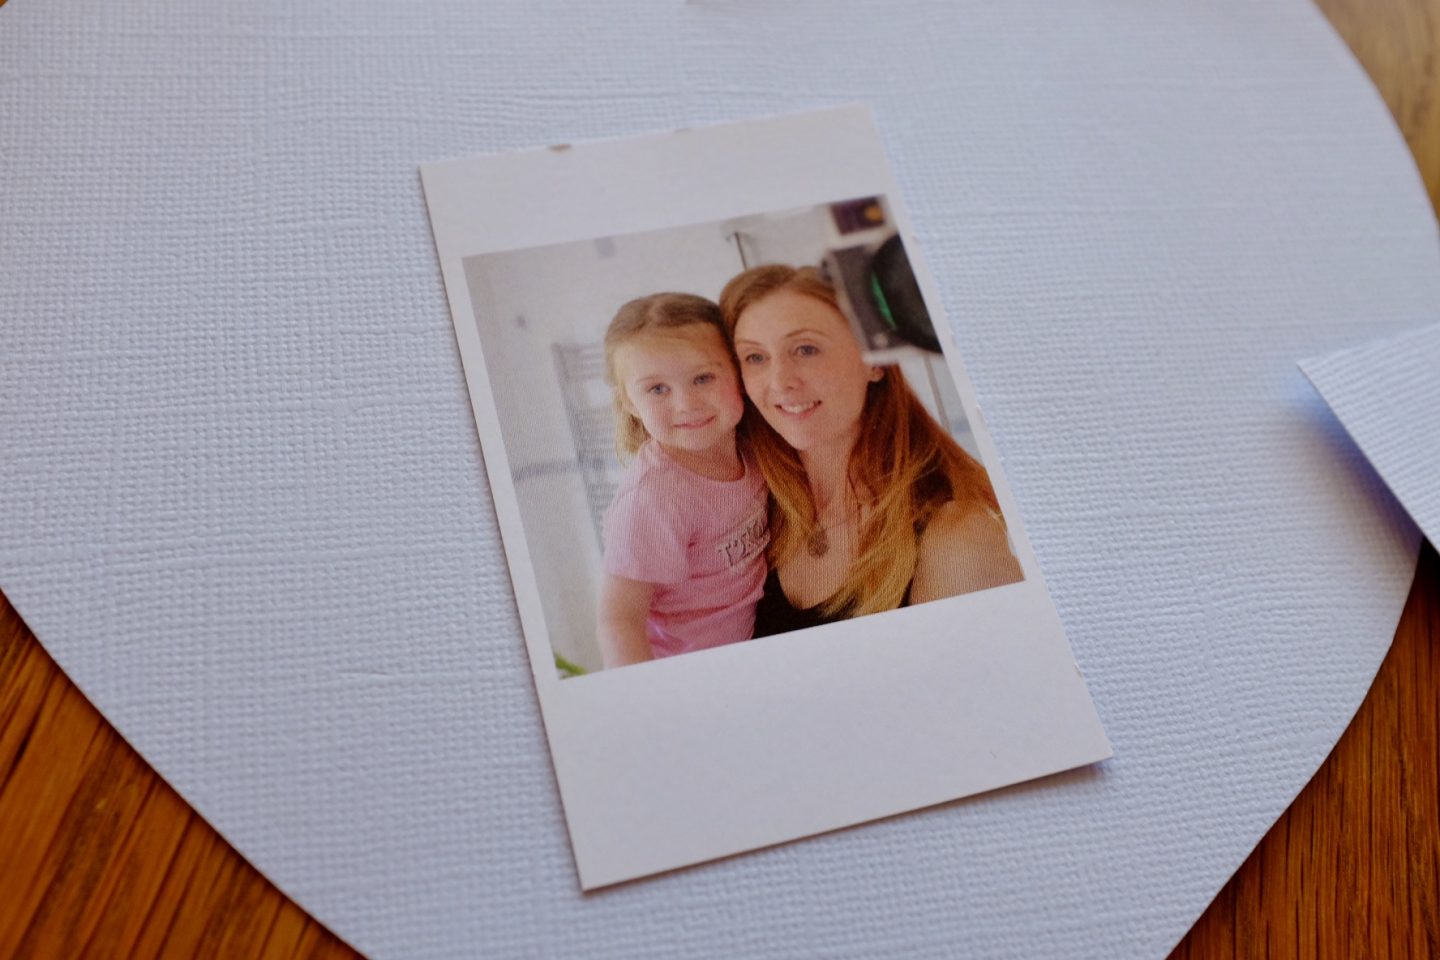
The next stage if you have chosen a picture is to stick it down in the centre of your heart. I’ve mentioned before how I use Inkifi to buy small prints and they are so cute! You can print images from Instagram so easily and they come in perfect mini prints!!
Tissue Paper Hearts
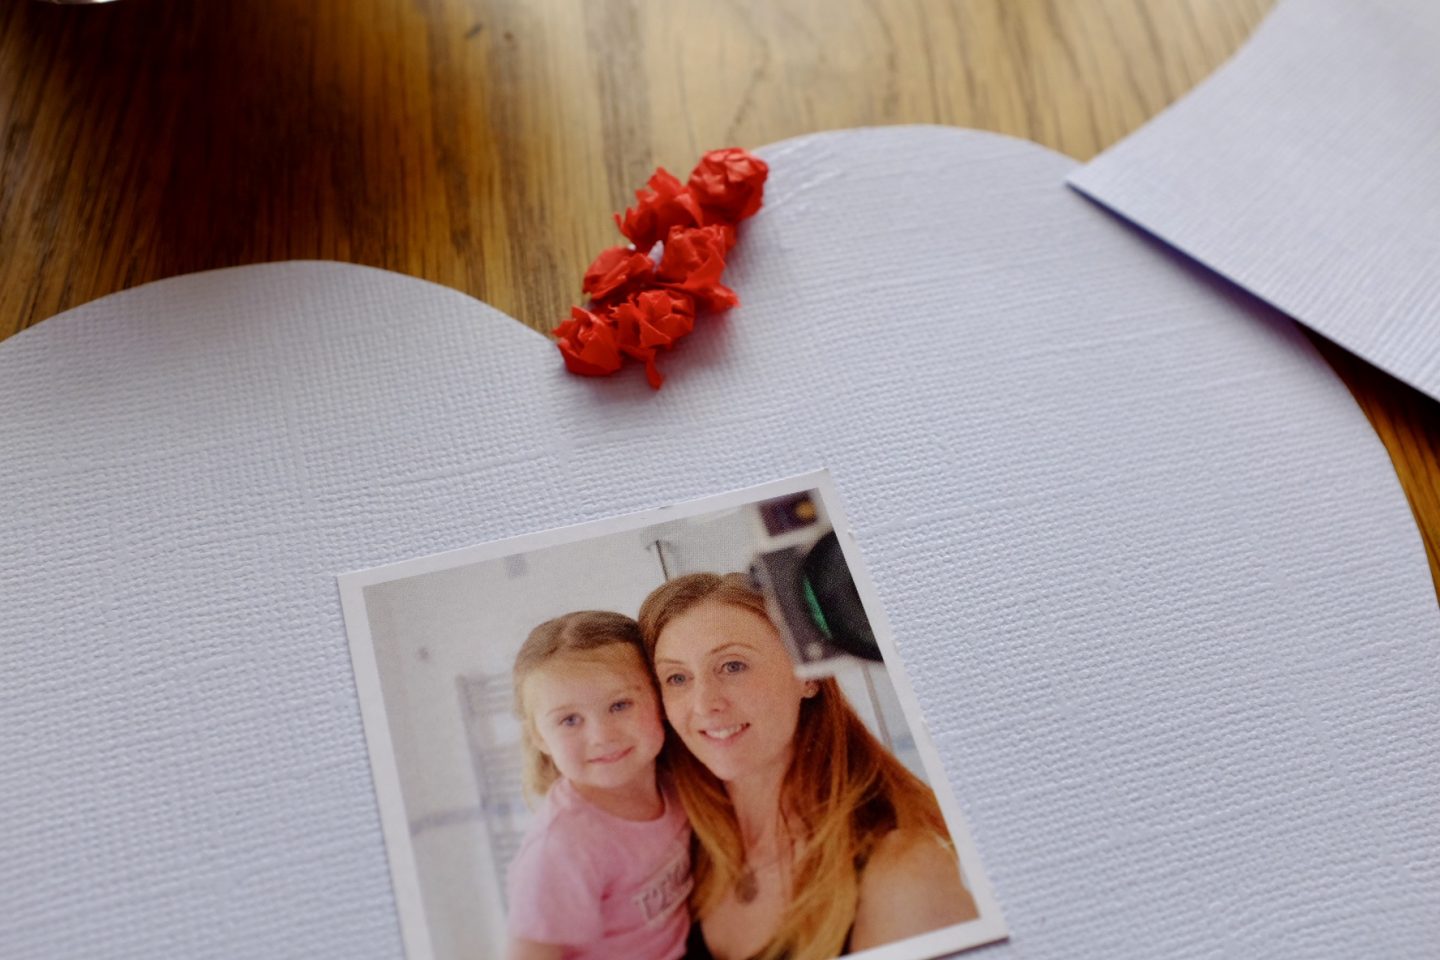
The next stage is adding the tissue paper to your hearts.
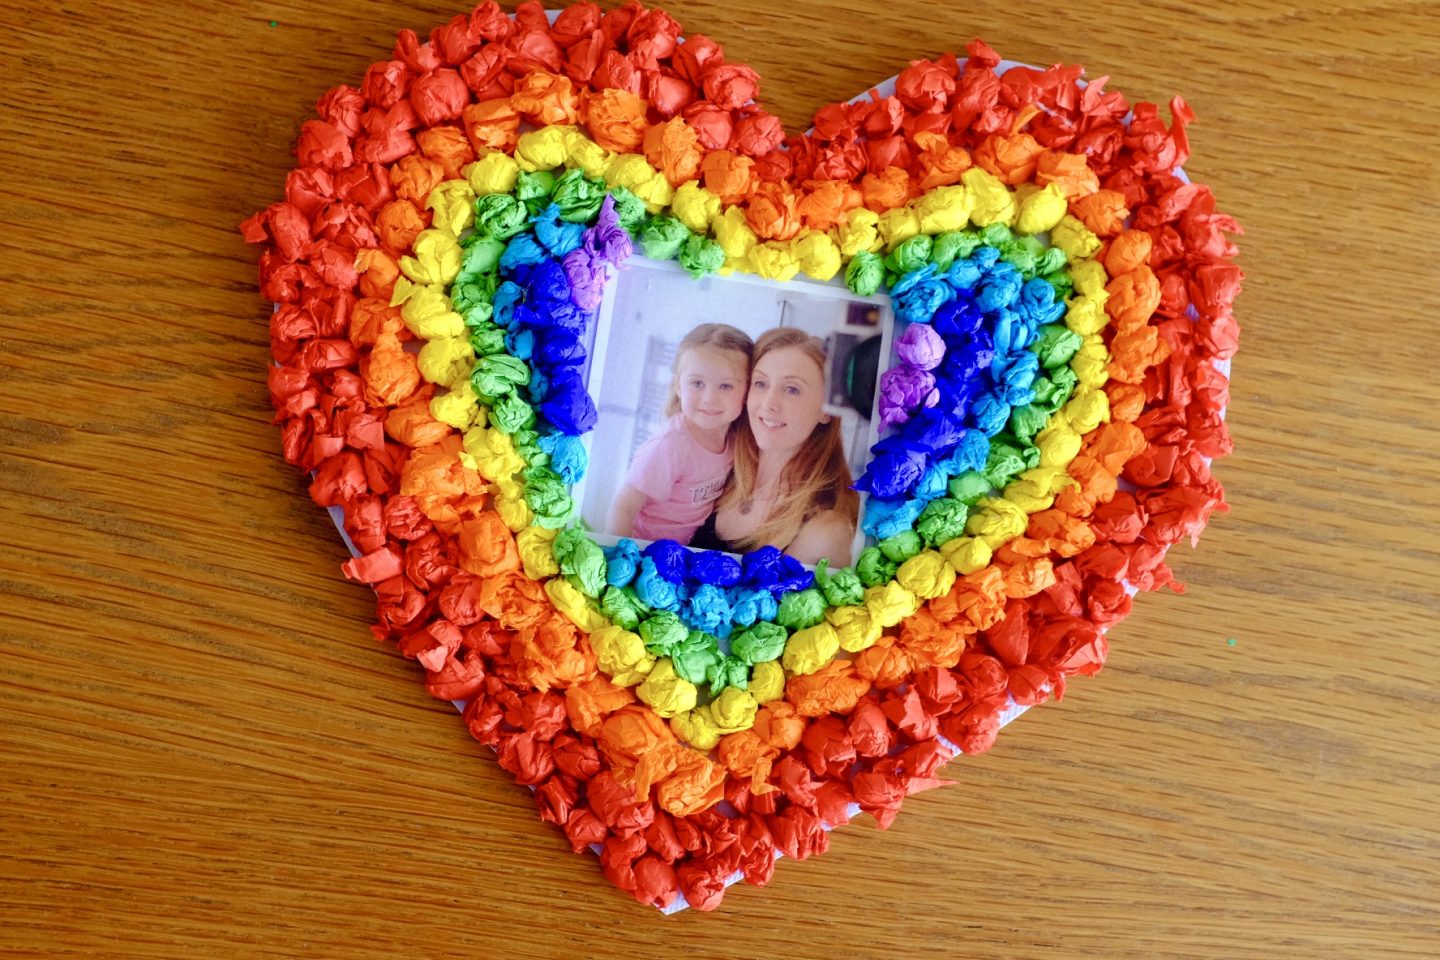
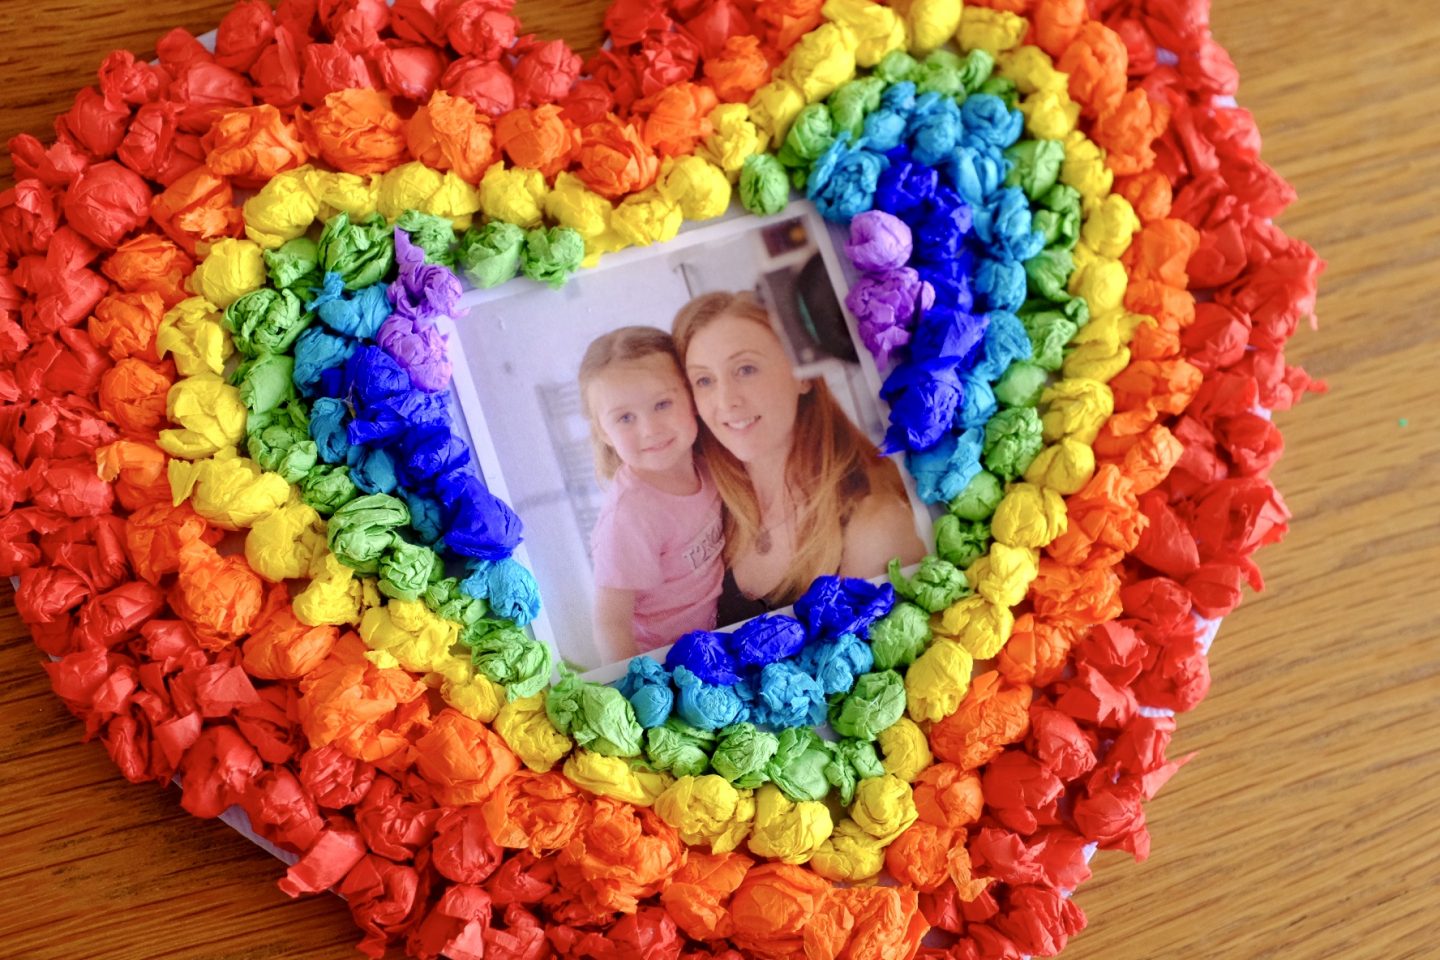
I decided I was going to to create rainbow colours from the outside to in of my heart, using a very old technique I learnt at school – scrunching up tissue paper! Yes it takes time but I always think looks pretty good!
So I started with red. I put the glue on the card but you can scrunch up your tissue paper and stick directly to the card. After you have gone all around the edge, start with the next colour to make your rainbow!
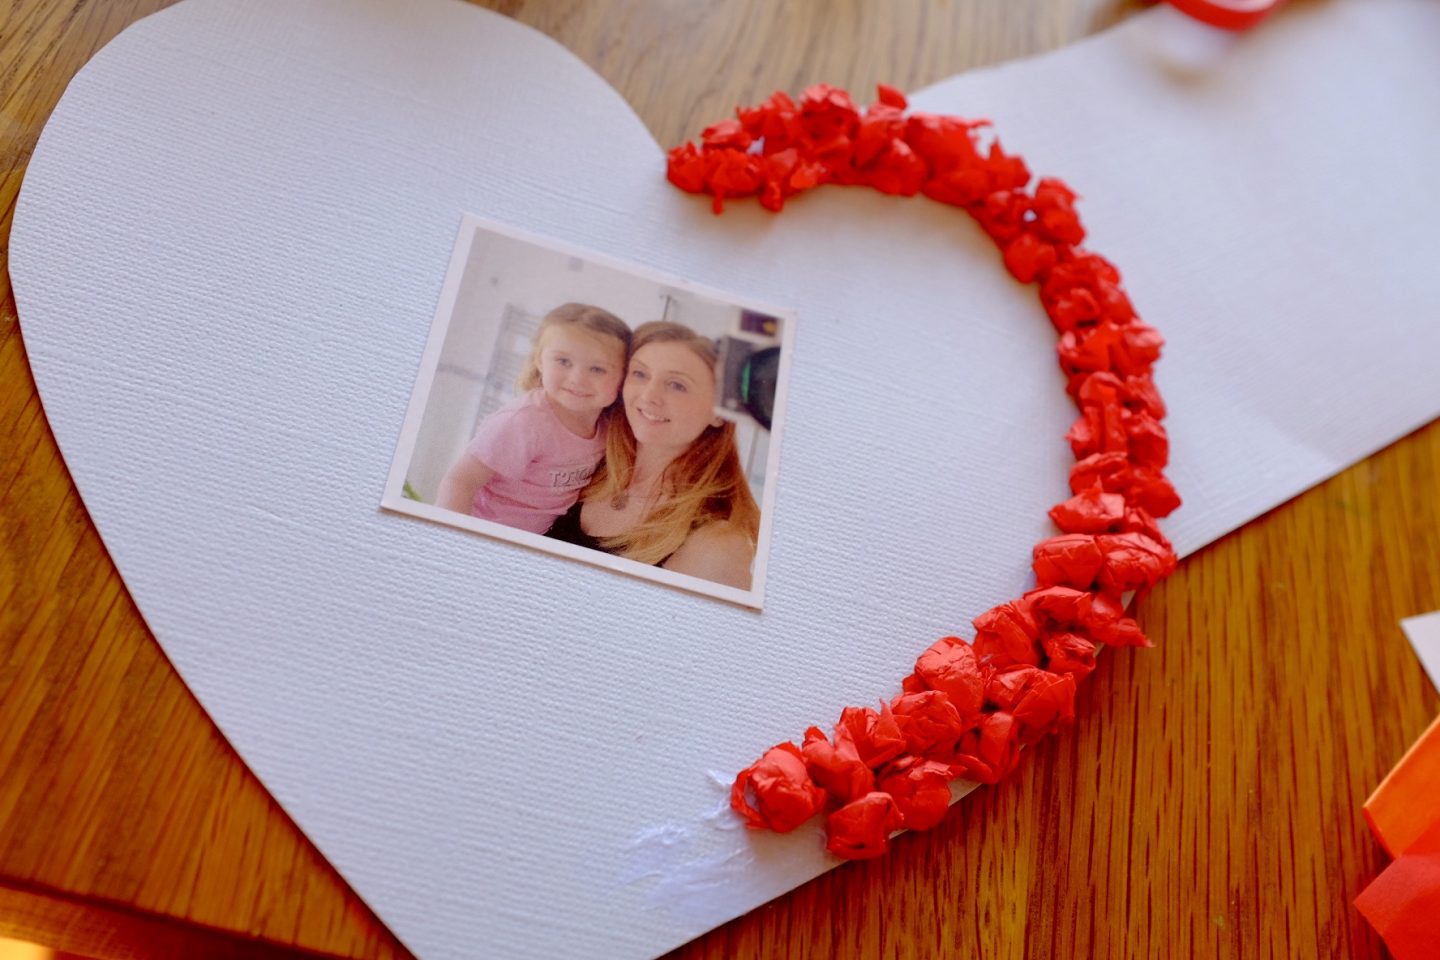
Be careful to not make your layers too thick, as you won’t be able to fit in all your colours. I started a little thick with my red layer and ended up with thinner layers for the other colours.
Et Voila! The finished article! As I said it does take time! I had to do in a couple of stages.
My eldest chose a different design and wanted to create coloured lines across her heart, using the tissue paper. She spent time ripping and glueing and filled any gaps with the tissue paper. Any excess over the edges, she just cut out. She really enjoyed creating something different to me and great fun to work with tissue paper.
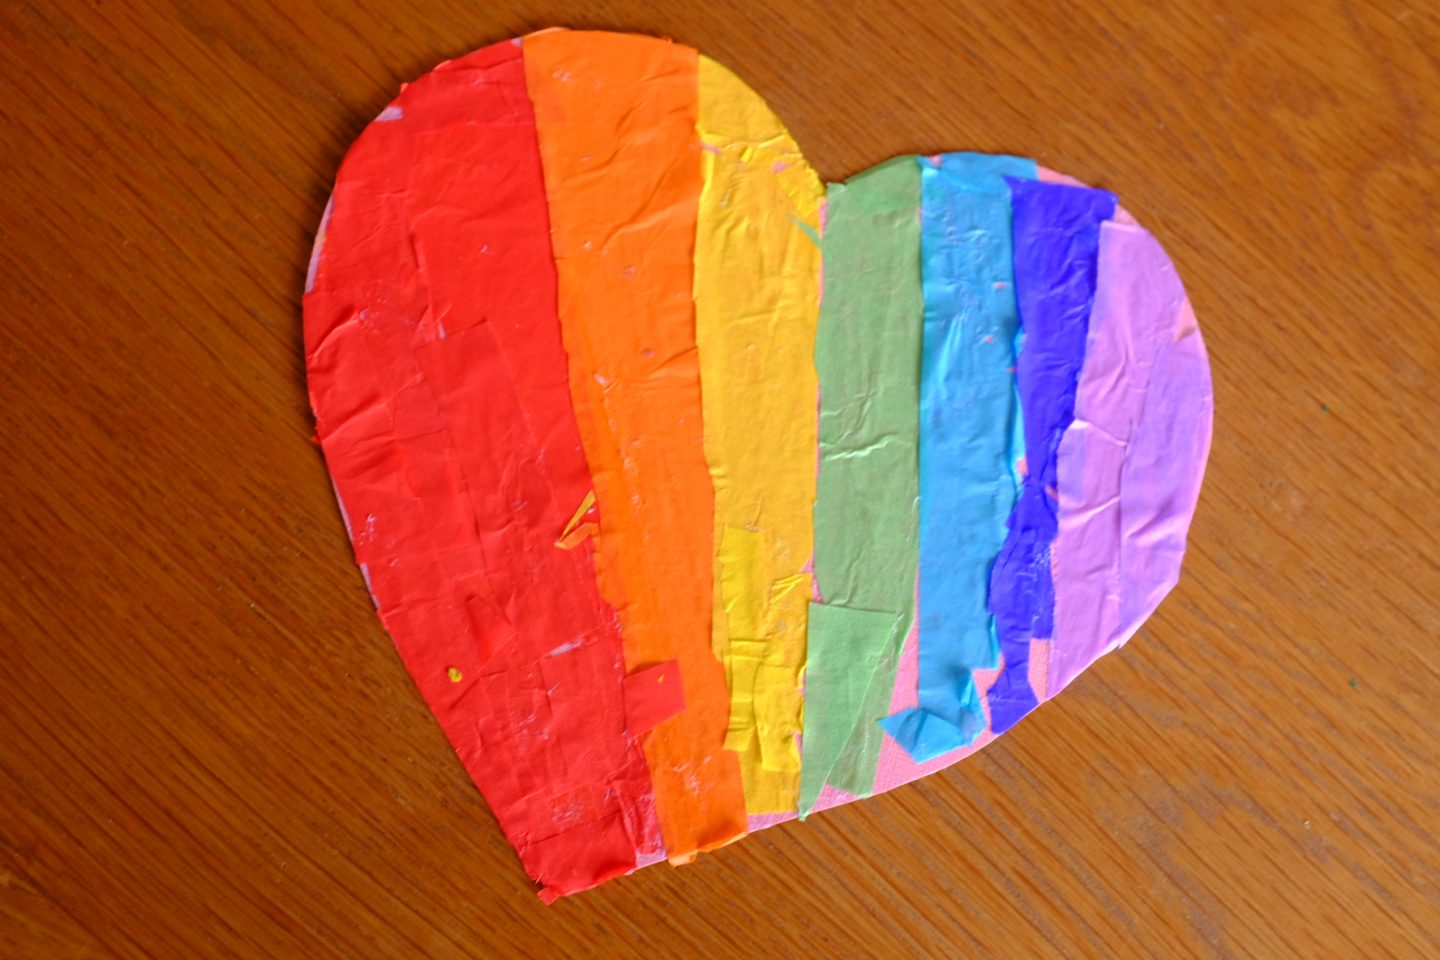
She was so proud of her efforts.
Overall we had some real fun making Tissue Paper Valentine’s Hearts (my husband not so much with the vacuum). They look great and it really kept us busy!
Let me know if you have a go in the comments!