
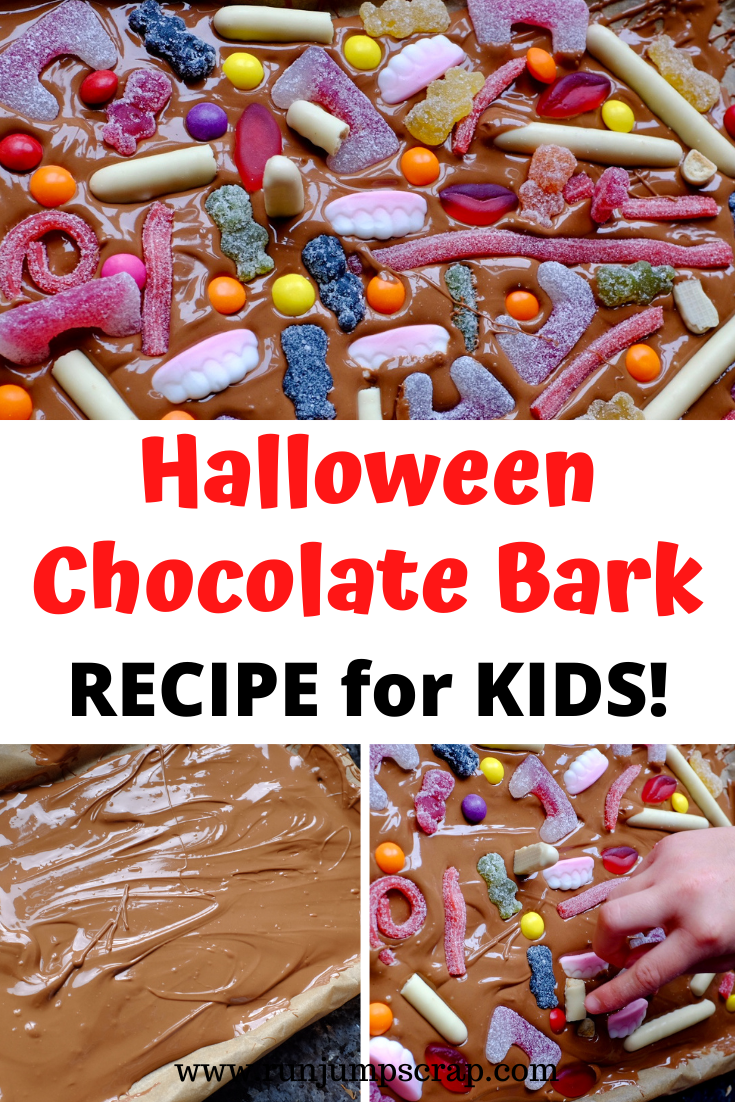
I don’t know if it’s the pandemic or the lockdown and not having as much to look forward to right now, or it’s my kid’s ages but they are absolutely buzzing for Halloween this year. So excited and we have already started making plans. The kids have decorated part of the fireplace and we have some other bits and pieces ready for the day. The girls have decided they are wearing Halloween pyjamas (to be comfortable all day) and have chosen some skeleton, glow in the dark pyjamas! They are prepped! They have also wanted to start the fun early so this weekend we made a Halloween Chocolate Bark Recipe and I thought I’d share it with you all.
It’s a bit rubbish the situation we are in now and I do feel like we need to make the weekends a little more fun and have a few treats here and there. Halloween can be celebrated for the whole of October right? Plus we can’t go trick or treating so it will be a day of continuous fun for us!
You may like my 15 Ideas for Halloween at Home post.
Check out my Halloween Dessert Recipes for some inspiration too!
Halloween Chocolate Bark Recipe
Well, I say Halloween Chocolate Bark Recipe but this really isn’t a recipe, as is one of the easiest things I have done with the kids. I won’t lie and say it was the cleanest (we did get chocolate everywhere) but it was fun and anyone can do it, even the non-bakers like me.
I sent my hubby off out to get some ingredients and we thought we’d just wing it!
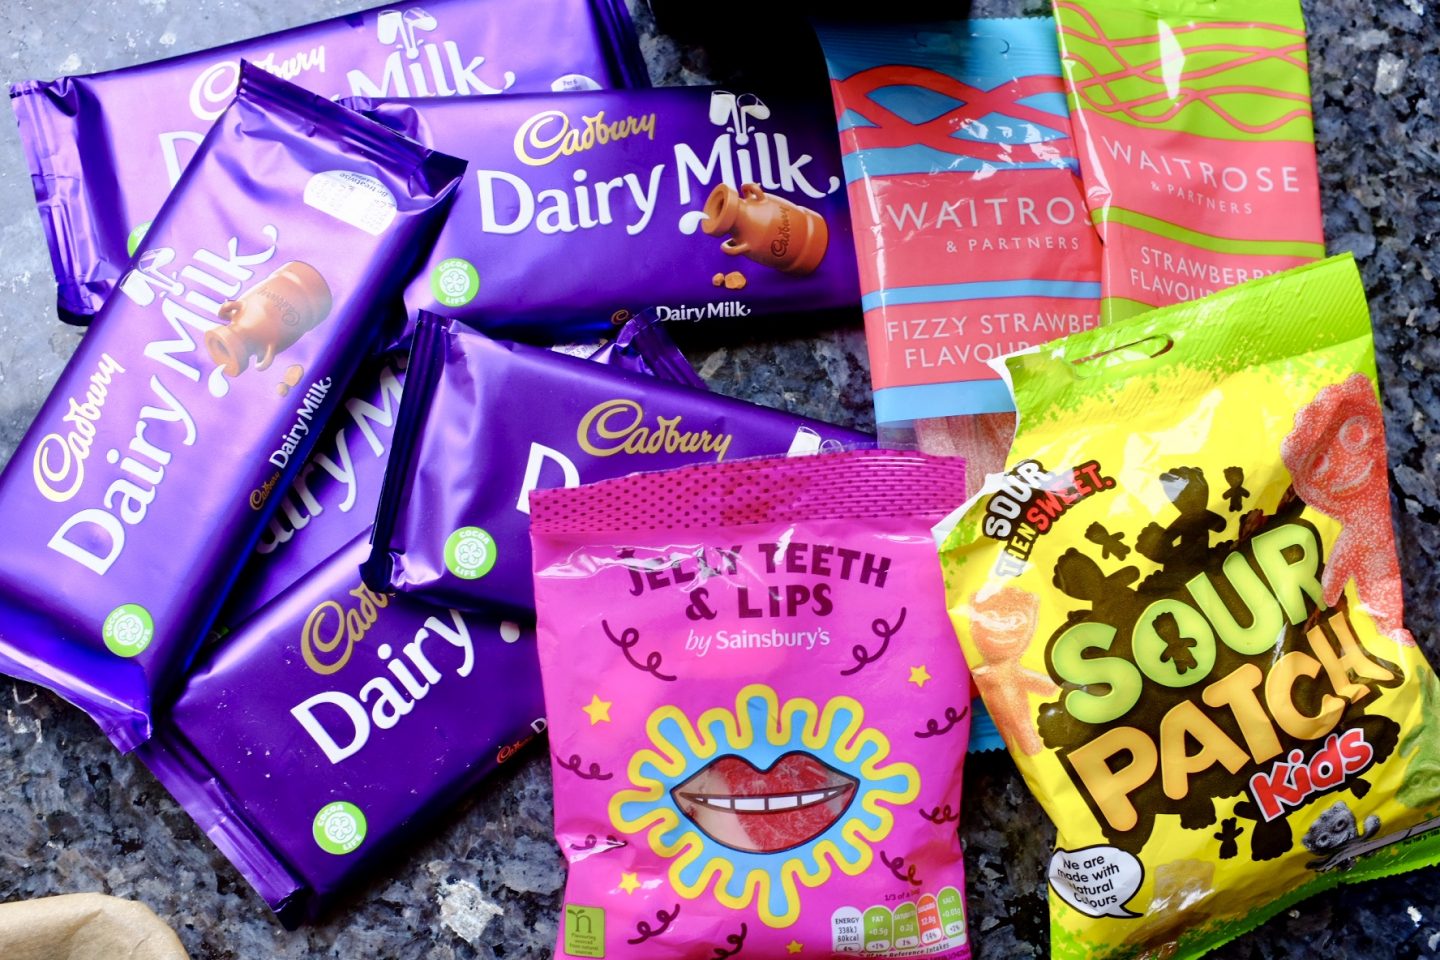
Ingredients for the Base
– 4 x 110g bars of chocolate (I am a snob and this had to be Cadbury’s) – 440g in total
Ingredients for the Topping
Now this is really up to you! We did have a look for some gummy eyes but didn’t have much luck at all. So our selection was:
– Waitrose Fizzy strawberry laces
– Cadbury white chocolate fingers
– Limited edition Hot Skittles
– Waitrose Jelly Teeth and Lips
– Sour Patch Kids
– Sour Fangs
Method – Halloween Chocolate Bark
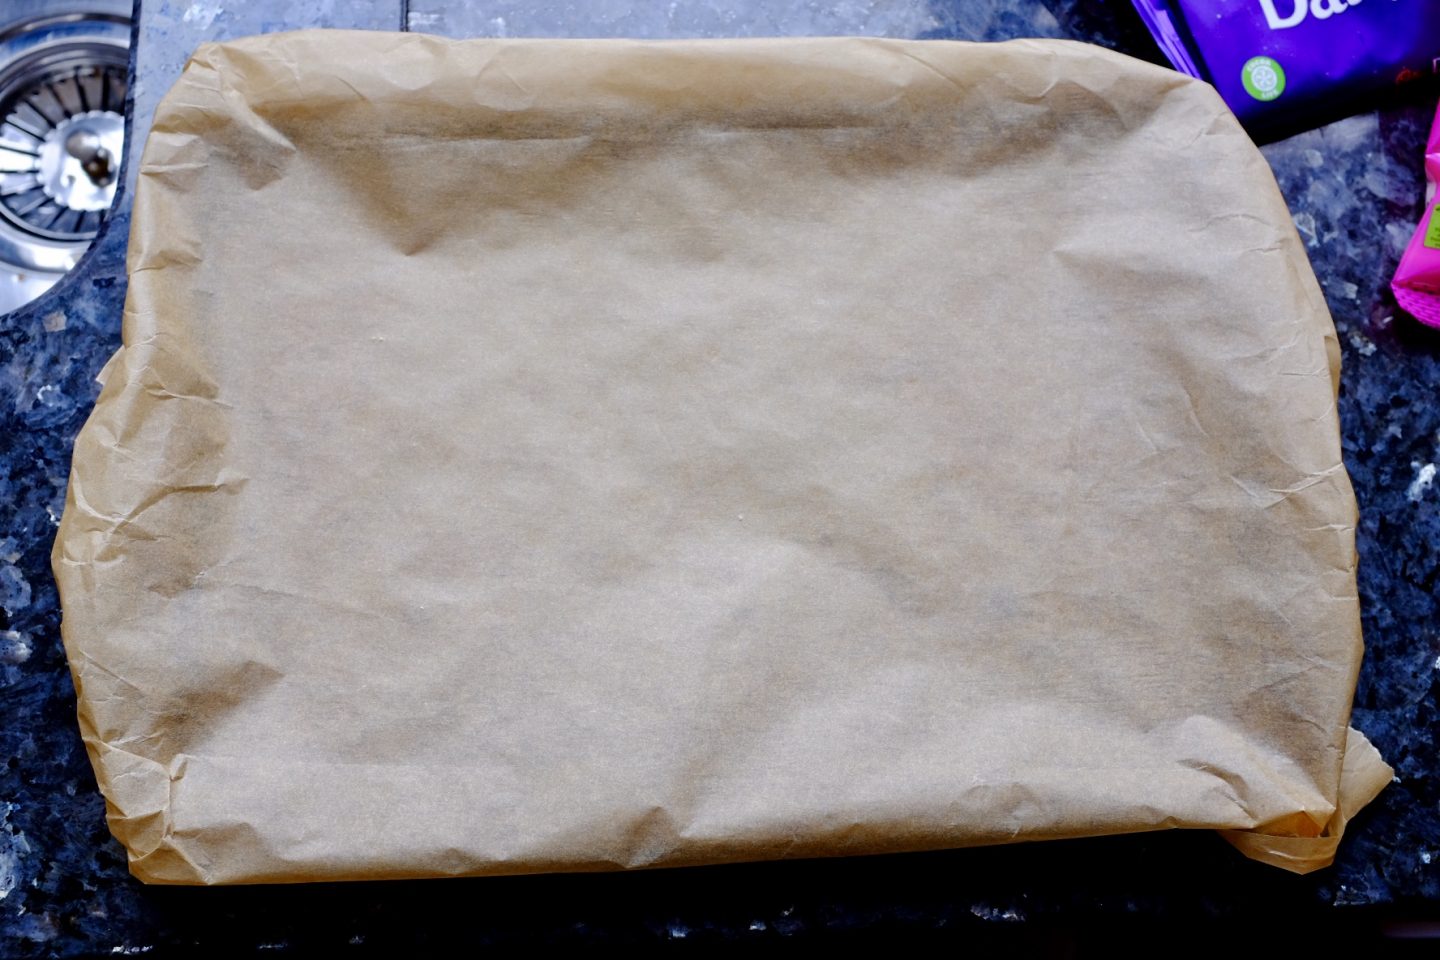
– Have a tray or board ready, covering in baking paper.
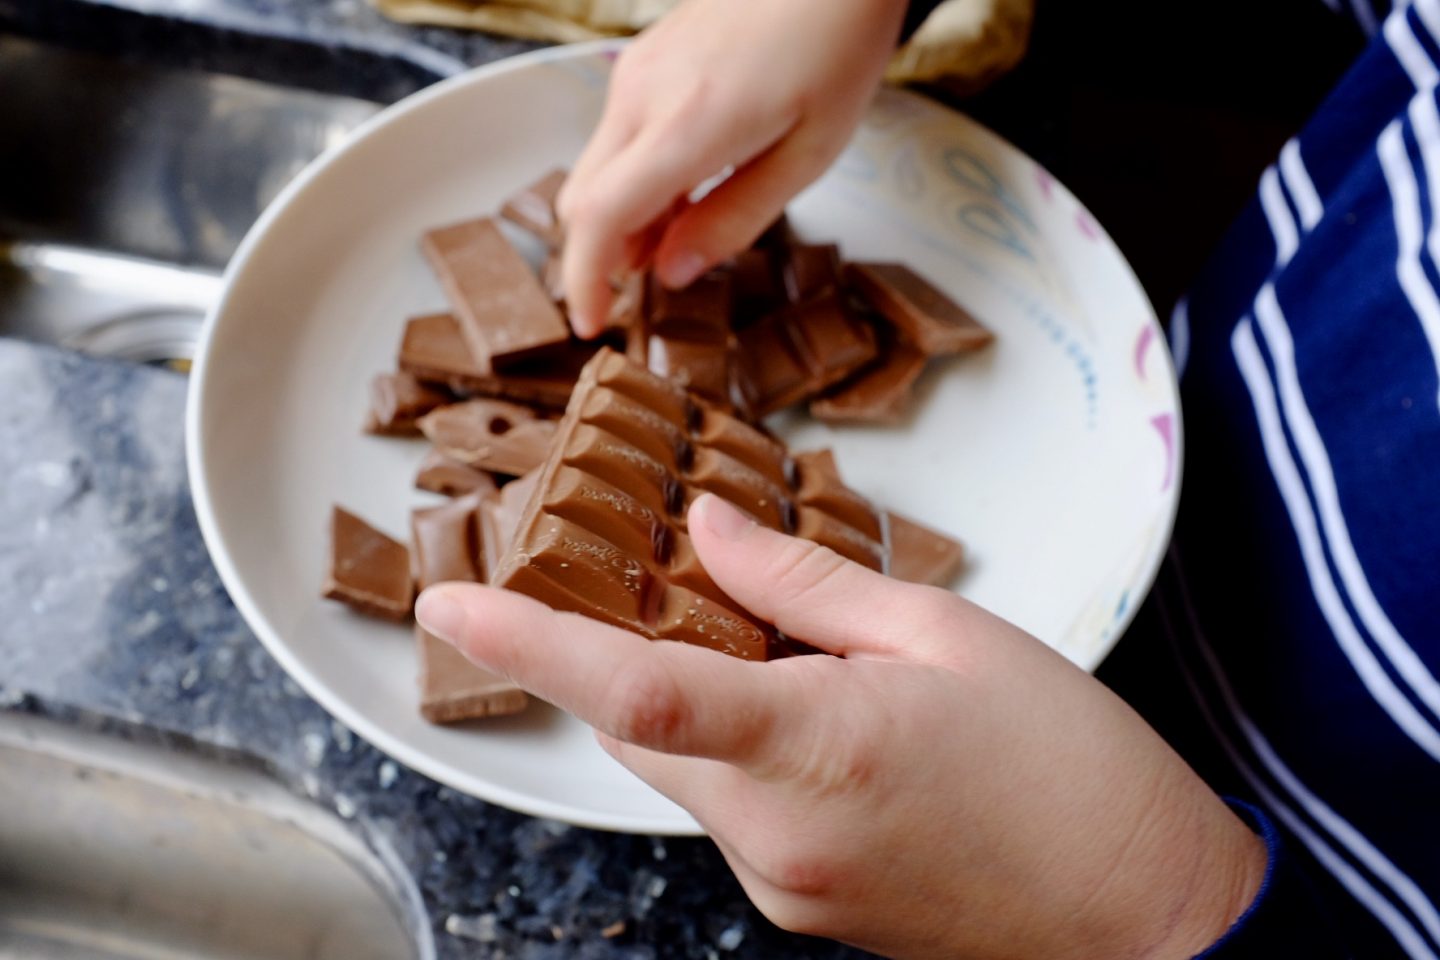
– Open up and break up all your chocolate. This kids enjoyed doing this and stealing the odd bit too!
– Melt it carefully. Now my hubby did this in the microwave. Personally I’d have done this in a bowl over a pan of boiling water, so you chose your best way!
– Using a spoon (or several spoons if the kids are helping) spoon out your melted chocolate and start covering the baking paper. Try and keep this as even as you can and smooth it down, using the back of the spoon.
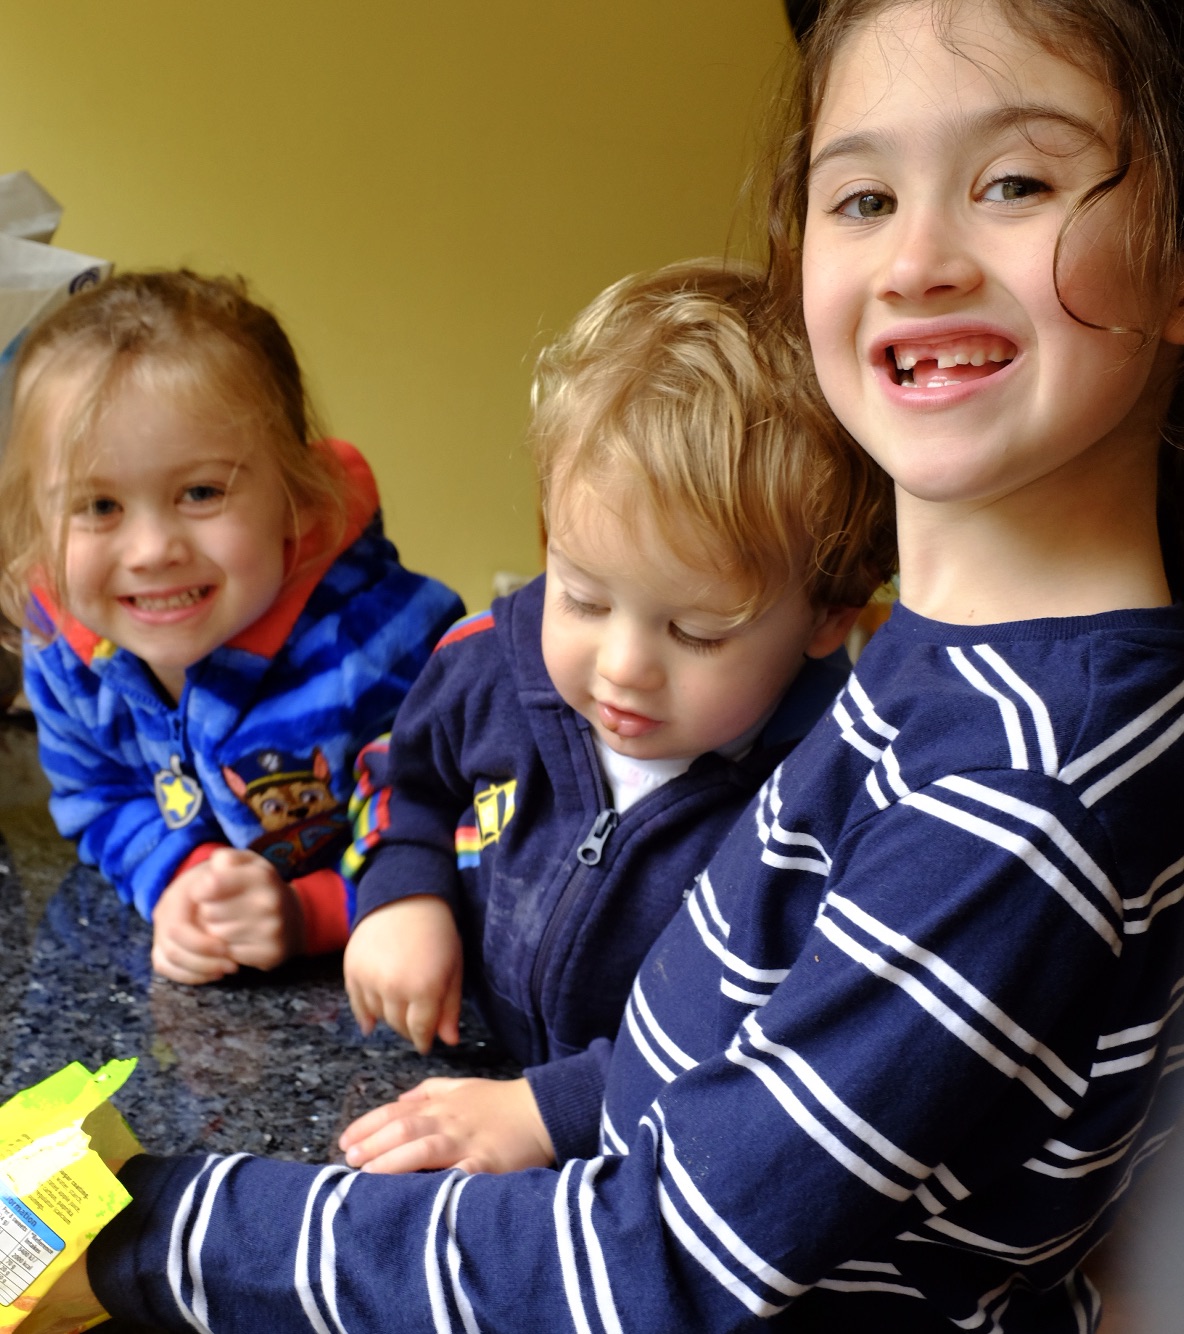
Yes this is very messy! Perhaps if you did it, not so much. As soon as my kids got involved, the chocolate went everywhere.
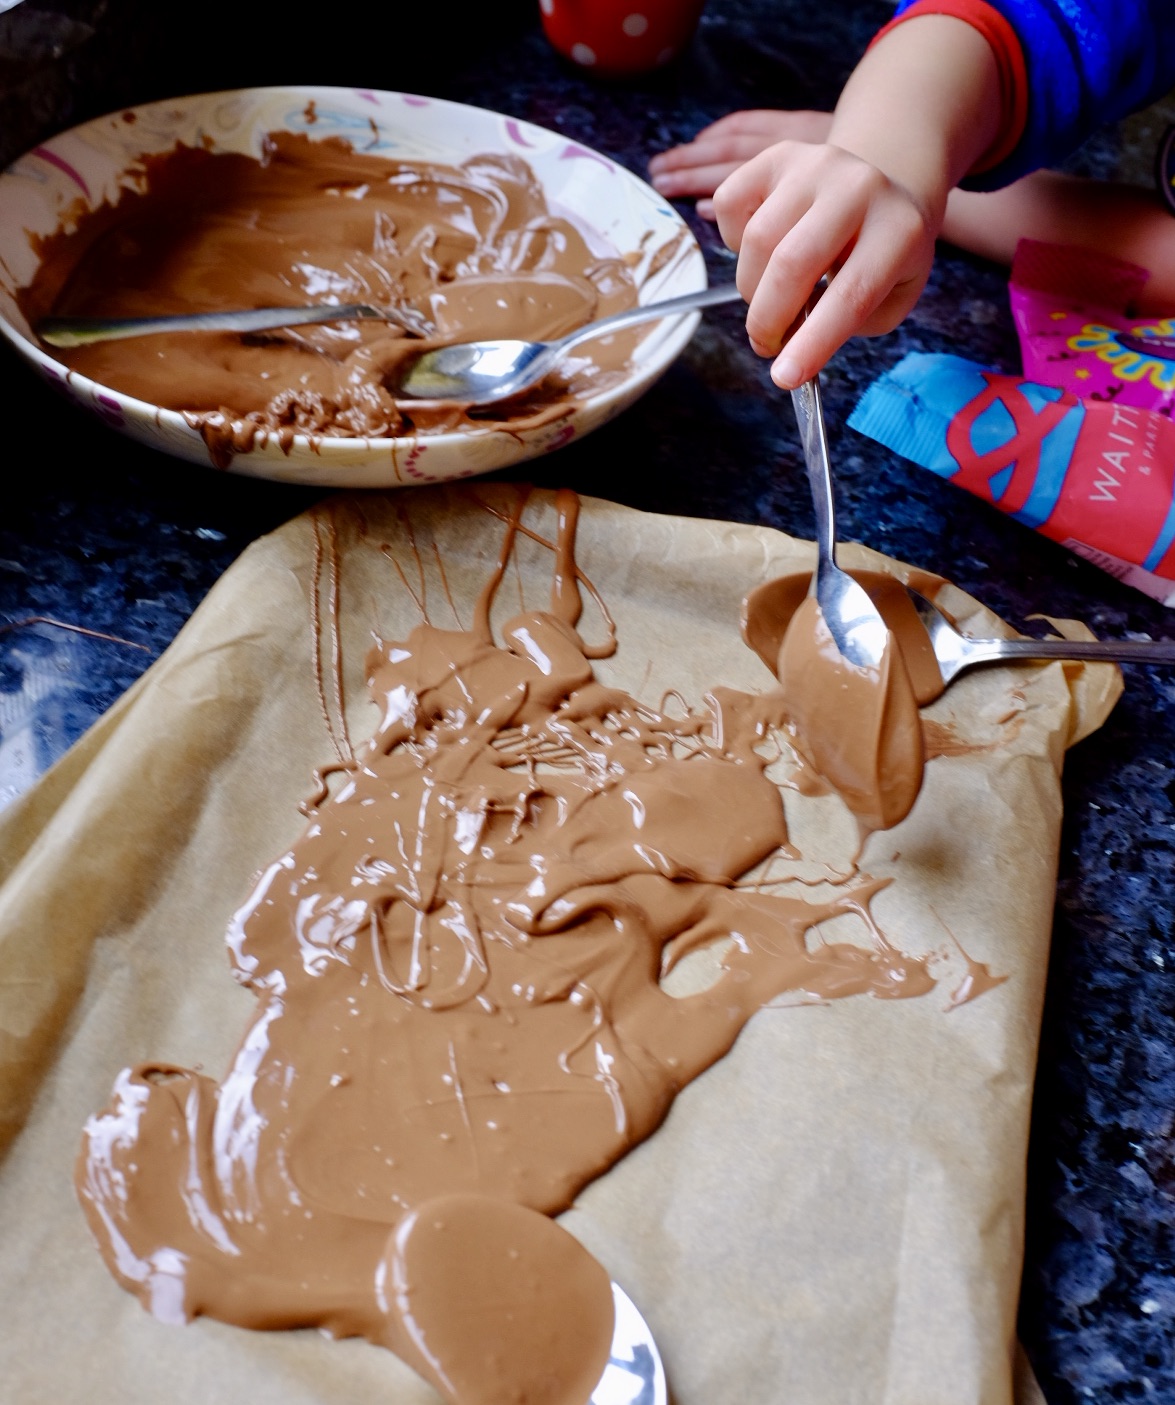
– Continue until all the melted chocolate is used up.
– Make sure the tray/board is covered as equally as possible and is flattened on the top.
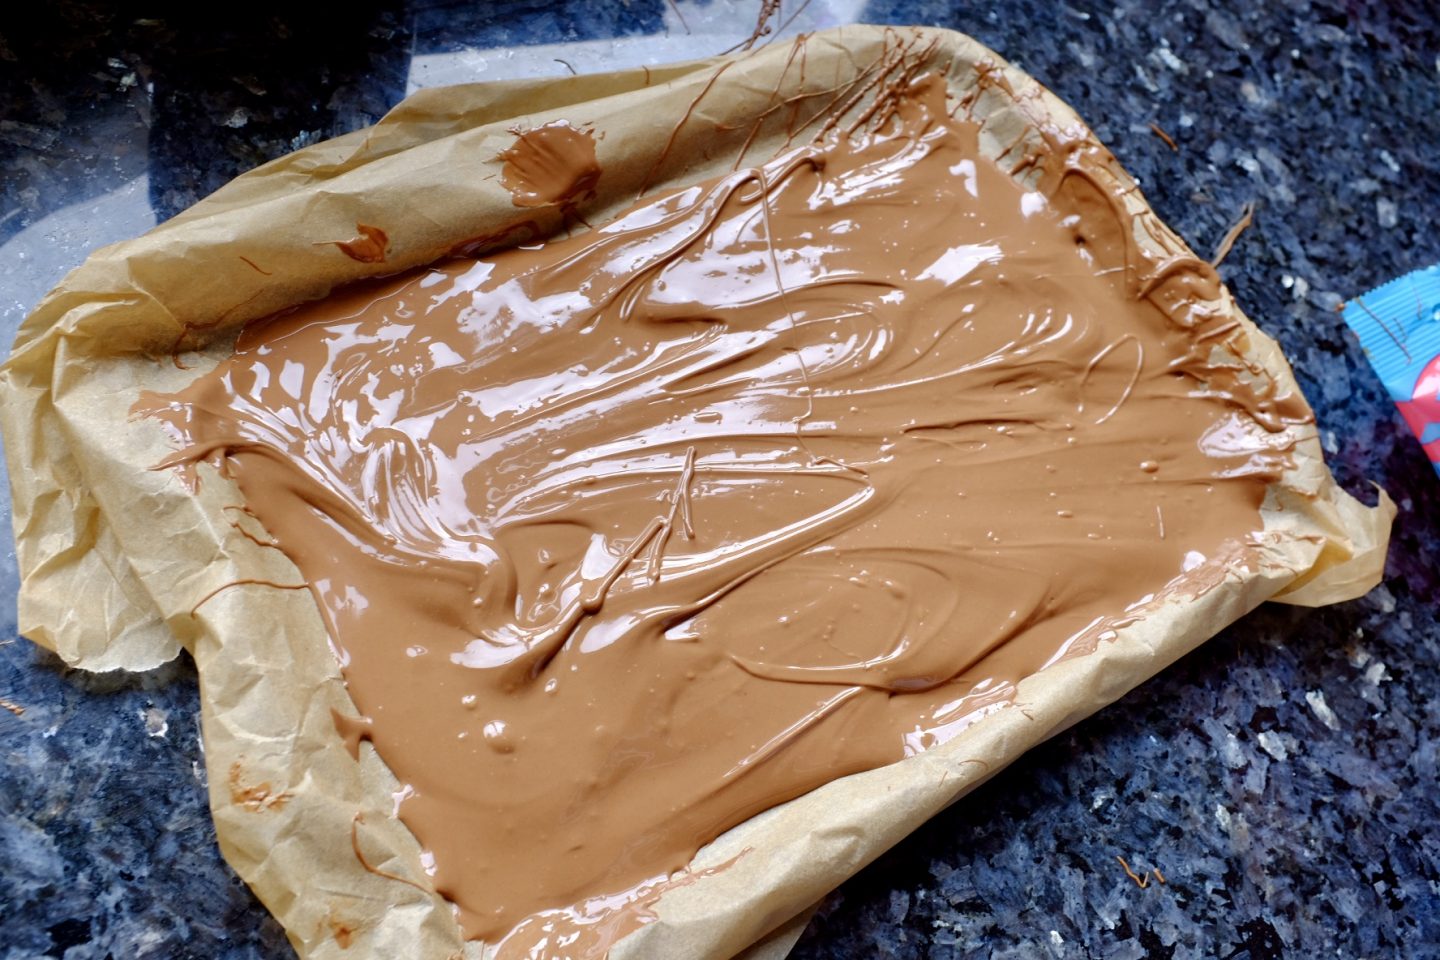
– The decorate! this is entirely up to you! The kids loved doing this. We broke up biscuits and cut some of the laces. Some sweets were flat and others stood tall. It was great fun!
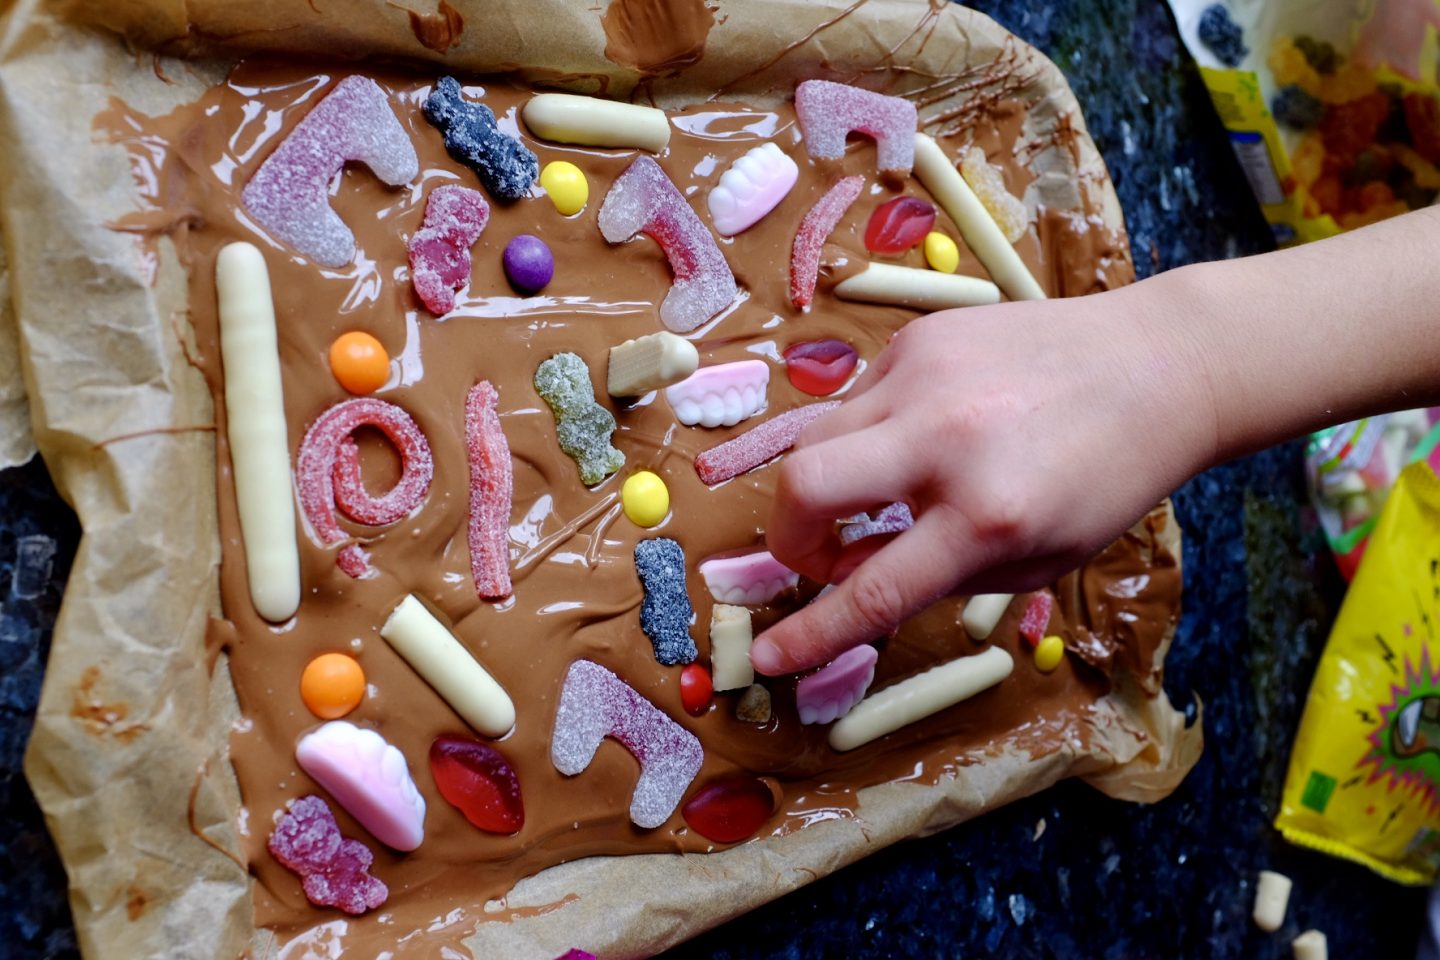
– When completed leave to set in the fridge for at least 2 hours.
– Using a sharp knife, cut into pieces and store in the fridge in a tub or at room temperature! All depends how you like your chocolate!
And there you have it! Halloween chocolate bark!
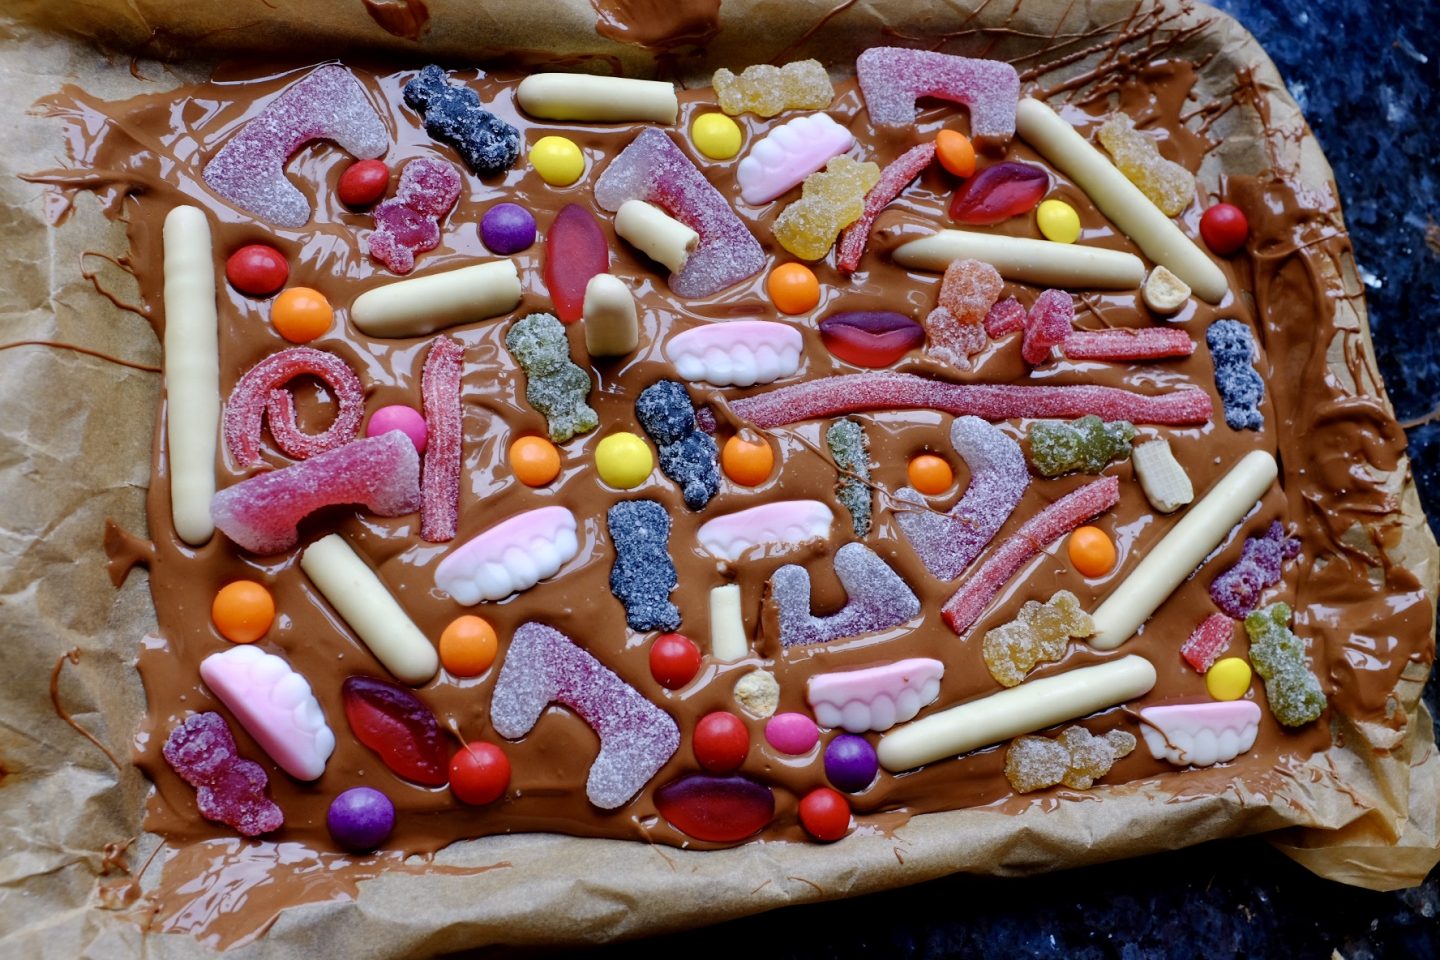
This was by far one of the easiest things I have made with the kids but it worked out really well. I never thought we would cut it into pieces but had no issues with this. Now we are going to enjoy eating this, as sure will last a good while.
Not sure it will still be here by Halloween though!
If you make, let me know in the comments and Happy Halloween!

Halloween Chocolate Bark Recipe
Equipment
- Baking Tray or Board
- Baking Paper
- Mixing Bowl
- Dessert spoon
- Microwave or Pan (depending on how you melt your chocolate)
- Sharp knife
Ingredients
- 440 g Chocolate We chose Cadburys
- White Chocolate Fingers Amount your Choice
- Strawberry Laces Amount your Choice
- Skittles Amount your Choice
- Sour Fangs Amount your Choice
- Gummy teeth and lips Amount your Choice
- Fizzy Sweets Amount your Choice
Instructions
- Cover your tray or board with baking paper.
- Open your chocolate and break up into a bowl.
- Melt slowly either using a microwave or bowl over a pan of boiling water.
- Once melted, spoon your chocolate onto your tray or board.
- Try and spread as evenly as possible and smooth down with with the back of your spoon.
- Decorate how you want with sweet treats and biscuits.
- Put in the fridge for 2 hours.
- Using a sharp knife, cut up and box up to enjoy later!

This looks so lovely and delicious. I’m also a big fan of the idea of Halloween pyjamas, what a great idea!
I love this idea, adding to my to-do list for half term as I think the kids would love it too
This looks delicious. I love that it’s so easy to make as well.
This looks yummy and I would love to eat this, anytime of the year!
My littlest grandson loves cooking and I’m sure he’d love to have a go at making this as it looks so easy.
Oh wow, this looks amazing! The teeth are a bit creepy, lol. But what a great idea.
This was great fun to do and easy, but with big results which I always love! My boys are dairy free so I used a mixture of dark chocolate, dairy free chocolate and peanut butter and decorated with sweets, biscuits, popcorn and raisins. Thanks so much for the idea 🙂
Author
ah I’m really glad you enjoyed! We enjoyed too!! x
Ooh so chocolately and full of sweets – that’s going to be a hit for sure, my boys would looove this!
Laura x